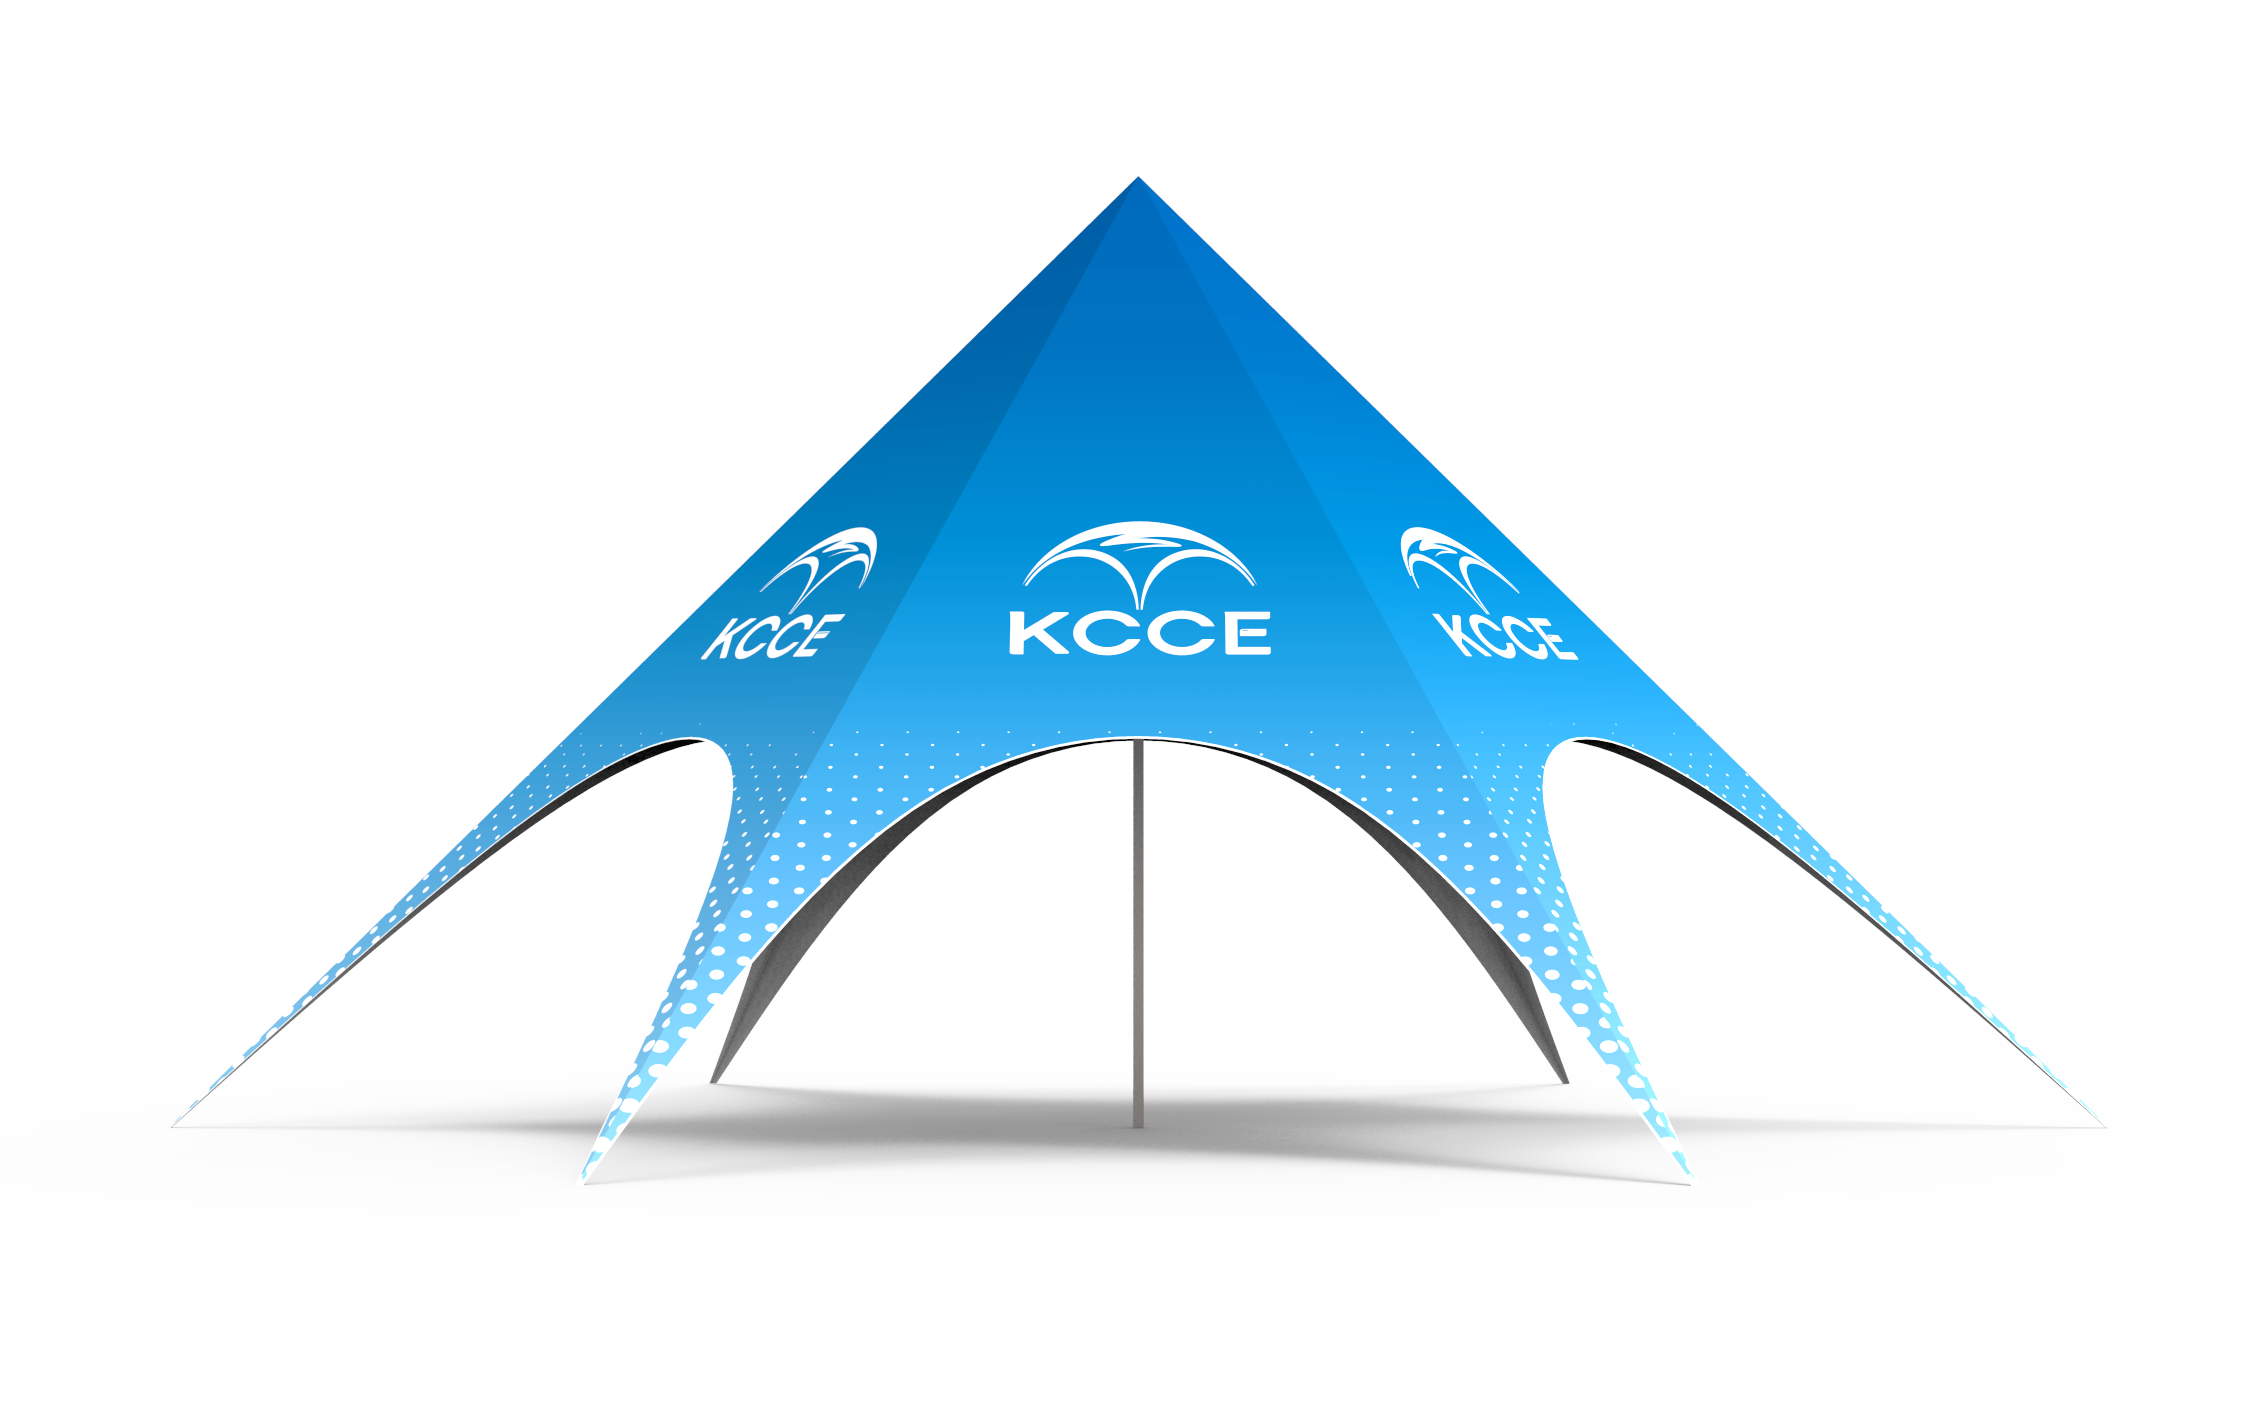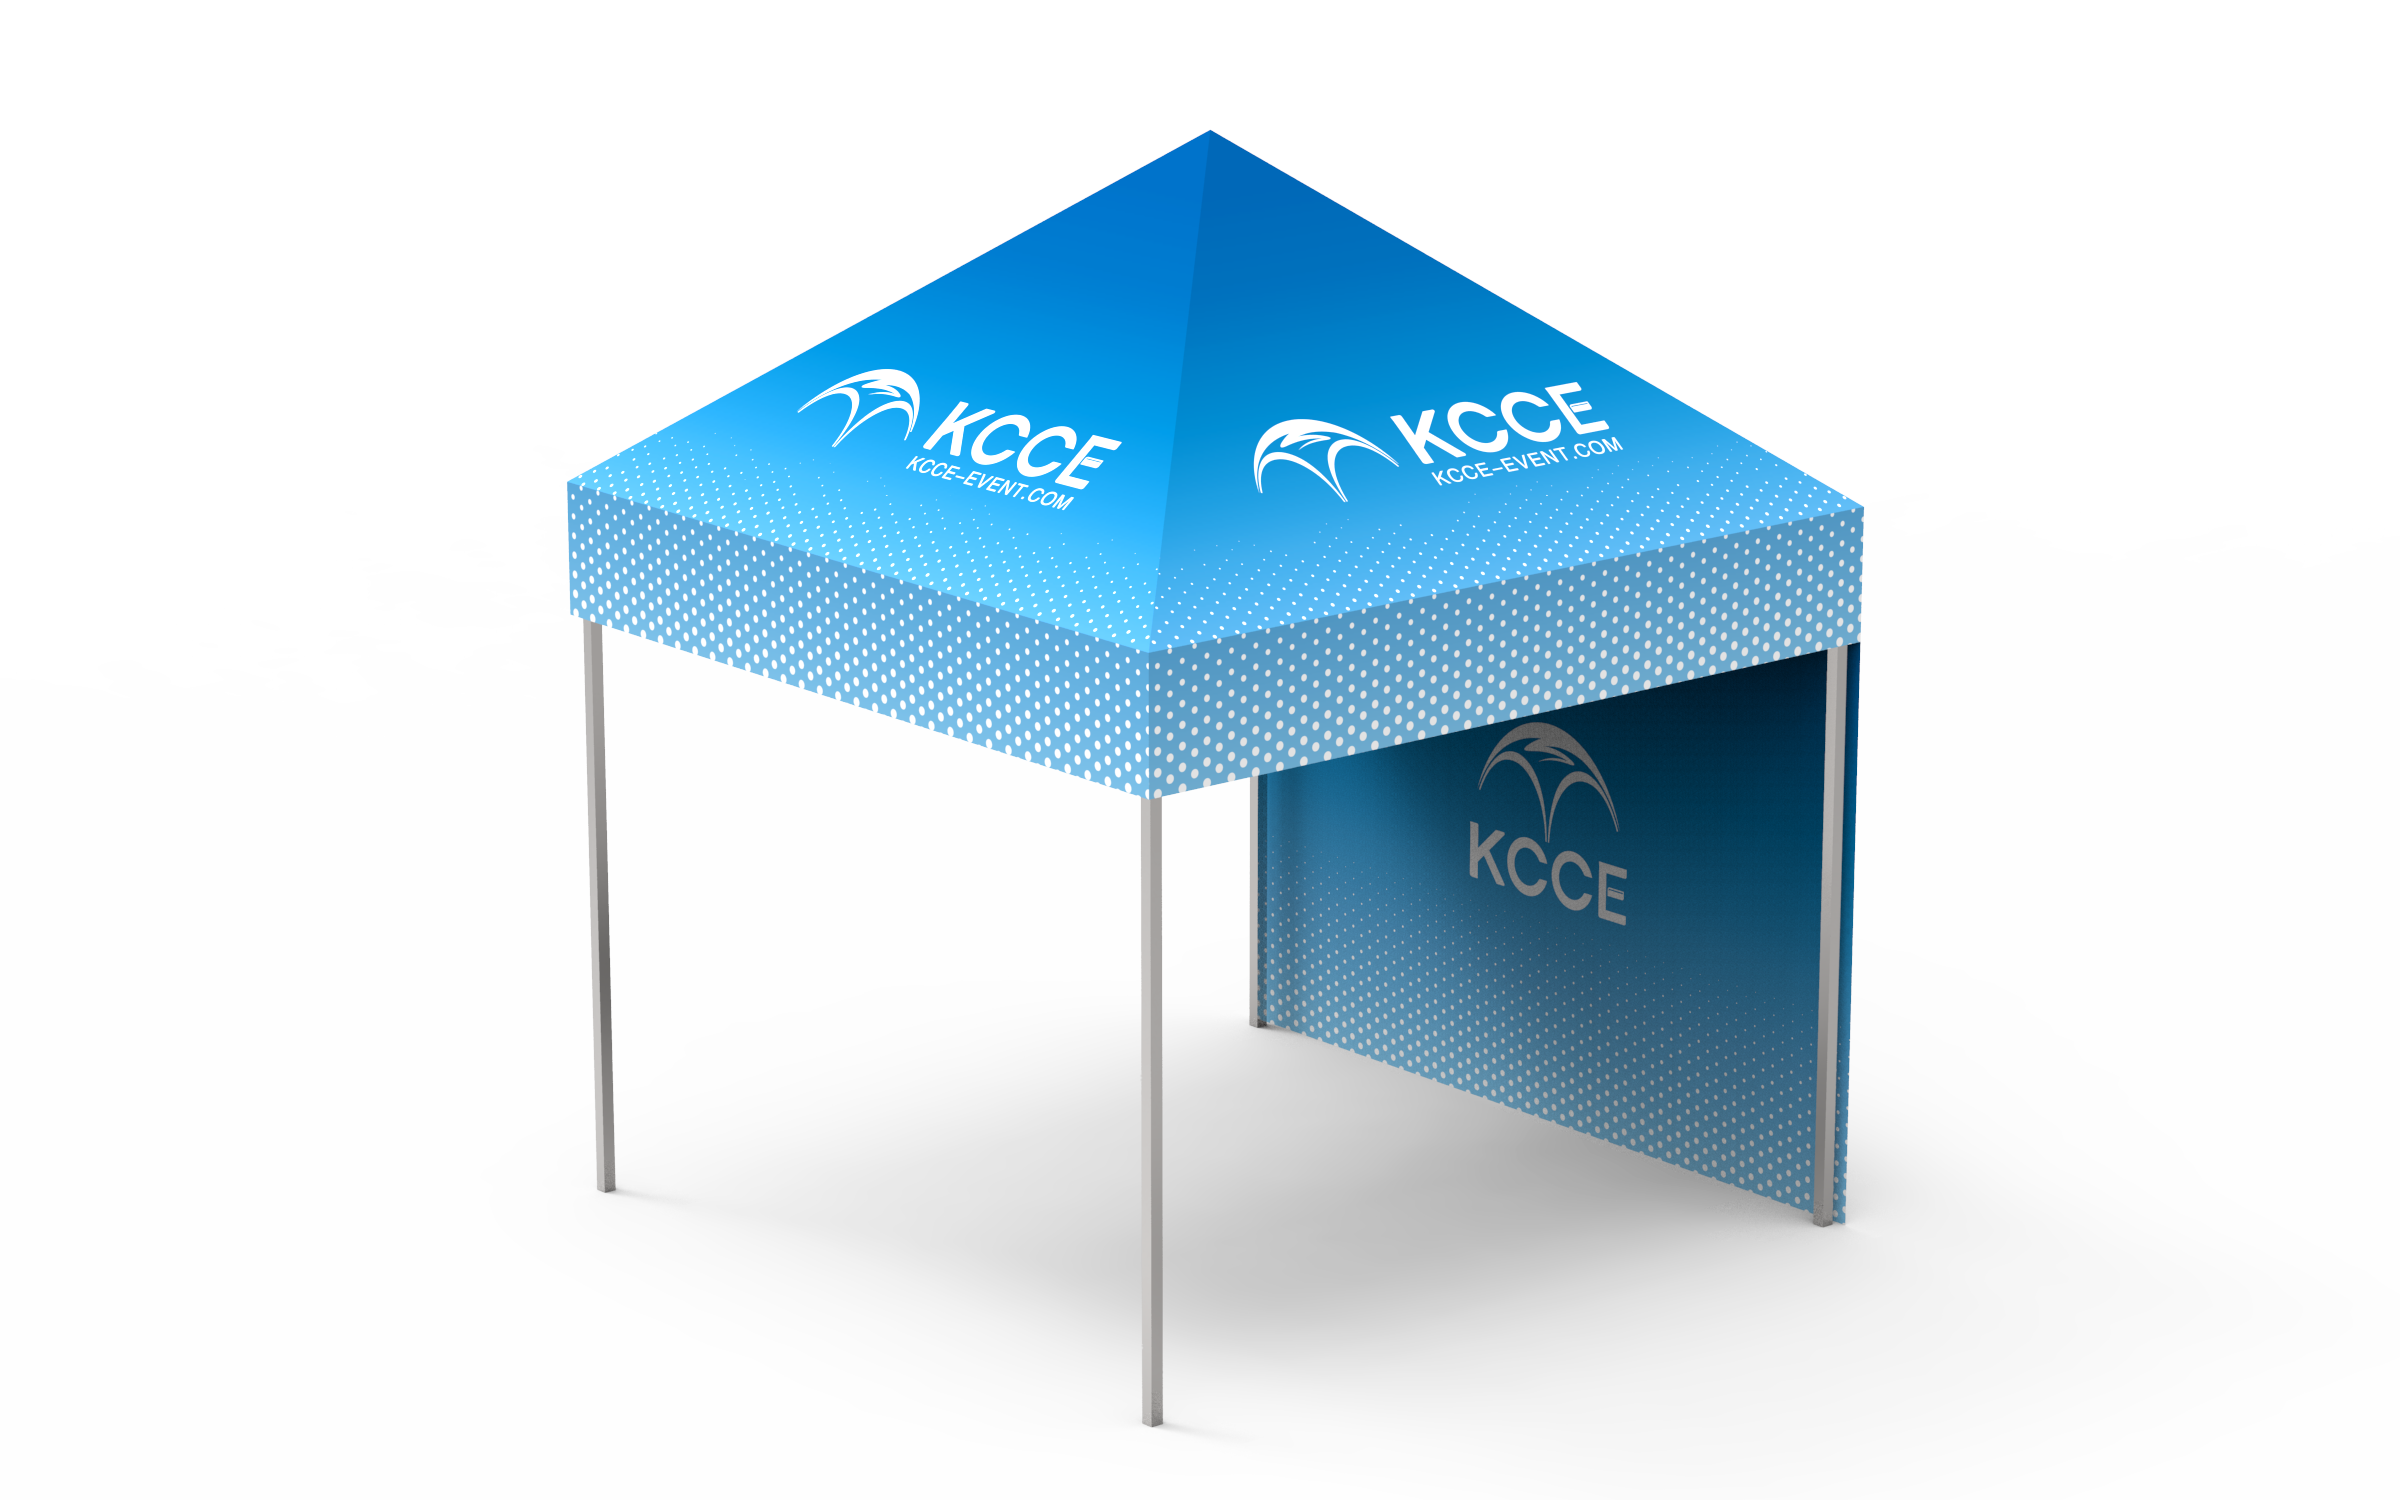
Vendors hide pricing. That’s the first thing you learn in this business. You go looking for an outdoor event displays tent and half the listings say “contact us for quote,” the other half bury the wind rating somewhere in a PDF nobody reads. So buyers guess — on size, on frame material, on whether “waterproof” means waterproof or just “lightly misted.”
I’ve set up and torn down enough of these to have opinions. Below is the size/price comparison I wish someone had handed me years ago, plus straight answers on the questions that actually matter: what fits your booth, what survives weather, and what you need to hold it down.
Quick Answer
An outdoor event displays tent is a portable pop-up or frame shelter used as a vendor booth at fairs, trade shows, and brand events. Most buyers need a 10×10 for a single booth, a 10×20 for a double frontage, or a 20×20 for a large activation — expect pricing to vary depending on size, frame, and printing.
Outdoor Event Display Tents: Size, Spec & Price Comparison
Here’s the quick-answer version first, because I know you’re scanning: match tent footprint to your allotted booth space, not to how much stuff you want to bring. A 10×10 in a 10×10 slot is full. A 10×10 in a 10×20 slot looks like you didn’t show up.
Now the table. Prices reflect what I’ve seen across the market for standard stock colors; custom printing pushes you toward the top of each range.
| Tent Size | Booth Footprint | Typical Frame / Canopy | Preisspanne |
|---|---|---|---|
| 10×10 | Single booth, 100 sq ft | Aluminum or steel pop-up frame, 500D–600D canopy | Pricing varies by configuration |
| 10×20 | Double booth, 200 sq ft | Aluminum frame recommended, 600D canopy | Pricing varies by configuration |
| 20×20 | Large activation / corner booth | Heavy-duty aluminum frame, 600D canopy | Pricing varies by configuration |
A few notes from experience. The 10×10 trade show Tent is the workhorse — it’s the size most event organizers assume when they assign space, and it’s what you see lined up in rows at craft fairs and street festivals. The 10×20 gives you a back wall plus a side wall and still leaves room for a demo table and two staffers. The 20×20 is a different animal: it’s an exhibition booth tent, not a vendor stall, and you should be thinking about ballast and setup crew before you think about graphics.
One thing the table can’t show: canopy weight. 500D and 600D refer to the denier of the fabric — heavier is more durable and more water-resistant, but also heavier to haul. For a tent that lives in your garage and comes out ten weekends a year, 500D is fine. For a tent that’s up every week, go 600D.
How to Choose an Outdoor Event Display Tent
Frame material: aluminum vs steel
Steel is cheaper and heavier. Aluminum costs more and won’t rust. If your tent is going to sit in a damp garage between events, aluminum is the smarter buy — I’ve watched steel frames come out of storage with rust blooms at the joints more times than I’d like. For a pop-up canopy that gets folded and unfolded constantly, aluminum also resists the bending fatigue that eventually kills cheap frames.
The “weatherproof” reality check
Here’s where I get blunt. “Weatherproof” on a product page is marketing, not a spec. Three different things get bundled into that word:
- Water resistance — how the canopy fabric sheds rain. Heavier denier fabric with a proper coating handles a shower; nothing handles a sustained downpour without walls and drainage planning.
- UV-Beständigkeit — whether the fabric and printing fade after a season in the sun. Custom printed canopy graphics are the first thing to suffer if the UV treatment is weak.
- Windbewertung — almost never published clearly, and the one that actually matters for safety.
Craft Professional’s guide to researching display tents makes the point directly: not all canopies provide adequate protection from sun, wind, and rain, and buyers need to verify that rather than assume it. That’s from a guide published back in 2007, and honestly the advice hasn’t aged a day.
Ballast and weights — the part everyone skips
This is the safety angle most buying guides gloss over. An empty pop-up canopy is basically a sail. Event organizers increasingly require weights on every leg, and some venues require white canopies with walls — check your event’s rules before you buy, not after. The social media forums are full of first-time vendors panicking about “tent walls and weights” requirements they discovered a week before the show.
My rule: budget for ballast as part of the tent purchase, not an afterthought. Weight plates, sandbags, or stakes (if the ground allows) — pick one and bring enough.
Best Picks by Use Case
No vendor favoritism here — these are categories, not brands, because the right pick depends on your show schedule.
10×10 trade show booth. The default. Look for an aluminum pop-up frame, 600D canopy, and a wheeled bag. This is your buy if you do one or two shows a month and sell from a single table.
Large outdoor event displays tent. For a 20×20 activation or a double 10×20, step up to a frame tent rather than a pop-up. Meister Structures’ breakdown of exhibition tent types for outdoor trade shows ranks frame tents among the best options for exactly this reason — they handle span and wind load better than accordion-style pop-ups. Budget at the top of the range and plan for a two-person setup.
Budget pop-up. A steel-frame 10×10 with a 500D canopy. Fine for a season or two of light use. Don’t print expensive graphics on it — put the money into the frame first, graphics second.
Premium custom. Full dye-sublimation printed canopy and walls. This is where a vendor display tent becomes a brand asset instead of a blue box. Zodiac Displays makes the case that a trade show tent can be more than shelter — it can be the center of an outdoor brand experience. I agree, with a caveat: only if the frame underneath is worth wrapping.
Custom Printing & Branding Options
Two print methods dominate. Dye-sublimation dyes the fabric itself, so the graphics don’t crack or peel and you get full-bleed color across the whole canopy. Screen printing is cheaper for simple one- or two-color logos but sits on top of the fabric and wears faster.
Logo placement options, roughly in order of impact per dollar:
- Valance print (the strip along the front edge) — cheapest visibility boost
- Peak / canopy print — visible from a distance, great for wayfinding
- Full wall wraps — maximum brand presence, maximum cost, and they block the breeze
Artwork requirements are usually straightforward: vector files, CMYK, with bleed allowance on every panel. Lead times vary by supplier — custom printed canopies typically run longer than stock colors, so order early if your show date is fixed. If you’re sourcing from overseas manufacturers, factor shipping into the timeline; domestic suppliers cost more but compress the schedule.
Rental vs Buy + Local Sourcing
You might be wondering whether to rent for a one-off. Here’s my take: rent if you’re doing exactly one event and you’re not sure you’ll do another. Buy if you’ll do three or more — the math flips fast, and you stop worrying about someone else’s stained canopy.
For sourcing, searching “outdoor event displays tent near me” or “trade show tent rental near me” will surface local options, and local pickup saves you freight and lets you inspect the frame before money changes hands. Canopy tent suppliers in my area is a search I’d actually run — a local supplier who can hand you a replacement leg the day before a show is worth a premium over a slightly cheaper online listing. If you need a portable trade show display local supplier for a recurring circuit, build that relationship early.
Main Types of Outdoor Event Tents
Pop-up (instant) canopy. Truss-style frame that unfolds in under two minutes, usually one person. Best for high-frequency, low-crew setups. Weak point is the scissor joints — cheap ones bind after a season.
Dome / frame tent. Separate poles and a tensioned canopy, slower to pitch (20–40 min) but far stronger in wind and better looking for premium activations. This is what you want for a 20×20.
Canopy / pole tent. Open-sided classic, common at festivals; relies on stakes and guy lines, so it’s a poor fit on hard surfaces without ballast.
Counter/display tent. A pop-up with an integrated or add-on counter panel and sometimes a back wall — the vendor-stall standard. The built-in counter beats a folding table because it hides your storage bins and gives staff a defined station. For a single 10×10 booth, this is the configuration I’d default to.
Key Materials & Workmanship
Dye sublimation printing. Ink is heat-transferred into the fabric fibers rather than laid on top. It won’t crack or peel at fold lines — the failure mode of vinyl-applied graphics. It also prints edge-to-edge, including on 600D polyester.
UV resistance. Look for fabric rated to a UV standard rather than the word “UV-resistant.” Uncoated polyester can lose significant tensile strength after prolonged direct sun exposure; quality canopies are typically marketed with a UPF 50+ claim and longer sun-exposure targets.
Waterproofing. 600D with a polyurethane or PVC backing handles a shower; the seams are the leak point, so specify seam sealing. “Water-resistant” and “waterproof” are not interchangeable.
Frame durability. Aluminum (often 6061-T6) resists rust and bending fatigue; steel is cheaper but blooms rust at joints in damp storage. Check wall thickness, not just tube diameter.
Size Selection Guide
5×5 (25 sq ft). Sample table or photo op only. No staff seating.
8×8 (64 sq ft). Tight single vendor slot; one person, one table.
10×10 (100 sq ft). The standard single booth. Fits a counter, two staff, and product shelving. This is the size organizers assume by default.
10×20 (200 sq ft). Double frontage — back wall, side wall, demo table, two to three staff.
20×20 (400 sq ft). Large activation or corner booth. Needs ballast planning and a setup crew; don’t treat it as a scaled-up 10×10.
Match footprint to your assigned slot, not to inventory.
Stability & Weighting
Never rely on stakes alone on pavement — most venues prohibit them anyway. Plan for substantial ballast per leg as a working baseline, increasing it on exposed sites. Sand or water-fill bases (a filled 5-gallon water base is heavy and adds substantial weight) are the practical choice; sand is heavier per volume and won’t freeze. Guy ropes at 45 degrees add lateral resistance; use ratchet straps over rope where wind is forecast. Know the Beaufort threshold: at sustained high winds (around Beaufort 6) most pop-ups should come down — canopy panels act as sails and frames fail at the joints first. Set up with the low side to the wind and always stake or weight before raising the canopy.
Custom Printing & Brand Exposure
Design for the read distance, not the screen. Text that is very short in height is hard to read from a distance; put your logo and one line of copy on the valance and front panel, nothing more. Keep critical graphics 2–3 inches inside the seam allowance — canopy edges curve and bleed into the frame. Supply vector files (AI, EPS, or PDF) at 1:10 scale, CMYK, fonts outlined, with 0.125 in bleed; Raster art generally needs a high resolution at final size, which for a 10×10 panel means a correspondingly large pixel count per face. Ask for a dye-sub proof before production — color shifts on polyester are real. One case worth copying: vendors who print a solid brand-color back wall see far more photo traffic than white-canopy neighbors, because the wall becomes the backdrop for attendee selfies.
Setup & Installation Steps
- Site check. Confirm slot dimensions, surface (pavement vs turf), and whether stakes are permitted.
- Lay out and weight first. Position frame feet, attach ballast to all four legs before raising anything.
- Open the frame. Two people, opposite corners, lift and extend until all scissor joints lock — listen for the click.
- Canopy on. Drape over the frame before full extension on larger tents; attach corners, then valances.
- Walls last. Zip or Velcro side walls after the canopy is seated; add the back wall facing away from prevailing wind.
- Guy out. Ropes or straps at 45 degrees to ground anchors or weighted points.
- Inspect. Check every joint and strap before loading product. Teardown is the reverse — canopy off before frame collapse, always.
Weather Stability & Safety
Wind. 15–20 mph: walls off, all ballast on, monitor. 25 mph sustained: evacuate and lower. Never leave a canopied tent up overnight unmonitored.
Regen. Standing water on a canopy sags and can collapse a frame — use the canopy’s pitch and clear puddles immediately. Seam-sealed 600D handles showers; sustained rain needs drainage planning.
Heat/sun. Canopy interiors can run noticeably hotter than ambient temperature; keep staff rotating and hydrate.
Lightning. Canopy frames are conductive. If thunder is within 30 seconds of lightning, clear the tent — the 30/30 rule.
Cold. Vinyl and PVC stiffen below ~40°F and crack at fold lines; store and pitch above that where possible.
Häufig gestellte Fragen
Q: What size tent do I need for an outdoor event?
A: Match the tent to your assigned booth footprint. A 10×10 fits a single standard booth, a 10×20 covers a double frontage, and a 20×20 suits a large activation or corner space. Measure your slot before ordering — an oversized tent in a tight space gets you moved.
Q: Are portable trade show displays weatherproof?
A: Partially. Canopies resist light rain and provide UV shade, but “weatherproof” is not a standardized rating. Check canopy denier, coating, and wind rating separately. For sustained rain or high wind, add walls and proper ballast, or plan to close up.
Q: How much does an outdoor event displays tent cost?
A: Expect pricing to vary by size, frame, and printing; larger configurations generally cost more than standard 10×10 setups. Custom printed canopies push toward the top of each range. Ballast and walls are usually extra — budget for them.
Q: Can I print my logo on a canopy tent?
A: Yes. Dye-sublimation printing gives full-color, durable graphics across the canopy and walls; screen printing is a cheaper option for simple logos. Have vector artwork ready, allow bleed on panels, and order early — custom printed canopy lead times run longer than stock colors.
Q: What’s the difference between a 10×10 and 10×20 trade show tent?
A: A 10×10 trade show Tent is a single-booth setup — one table, one or two staff. A 10×20 doubles the frontage, giving room for a back wall, side wall, and a demo area. If your show assigns 10×20 slots, the larger tent reads as a serious booth.
Q: What weights do I need for an outdoor event tent?
A: Enough to keep every leg planted — weight plates or sandbags on all four corners at minimum, more in exposed or windy sites. Many venues now require weights as a condition of setup, and some mandate white canopies with walls. Confirm the event’s rules before you buy.
Q: Should I rent or buy a vendor display tent?
A: Rent for a single one-off event where you’re unsure about continuing. Buy if you’ll exhibit three or more times — the break-even comes quickly, and you control the condition of your own canopy. Local rental and pickup options are worth checking either way.
Q: What are good outdoor event displays tent ideas for a small space?
A: In a tight footprint, go vertical: a 10×10 with a printed back wall, shelving on the side walls, and a branded valance does more than a bigger tent you can’t fit. If the event doesn’t allow tents at all, build freestanding display fixtures instead.
Fazit
Measure your booth footprint first — that single number decides your size, and everything else follows. Use the comparison table above as your decision tool, then confirm two things before you order: the wind rating and your ballast plan. Those are the details that separate a tent that survives the season from one that ends up in a dumpster after the first gusty Saturday.
Quellen
1. Display Tents for Craft Shows — 6 Questions to Ask – craftprofessional.com
2. Best Types of Exhibition Tents for Outdoor Trade Shows — Ranked & Explained – mr-structures.com
3. Brand Activation Tents for Outdoor Events – zodiacdisplays.com
4. Trade Show Tents: How to Choose the Right Tent for Exhibitions and Events – gettent.com
5. Event Exhibition Tent Design Trends: Styles, Layouts & Uses – lpoutdoors.com
Choosing displays for a run of open-air dates? outdoor inflatable tent for Spain sits beside the outdoor inflatable tent for Spain page: lawn rows take ground stakes, paved rows take sand bags, and both are written before the set travels.