Hızlı Cevap
A 10×20 trade show booth gives you 200 square feet — double the standard 10×10 — and typically costs anywhere from a few thousand dollars for a portable pop-up display to well into five figures for a fully custom modular build. The right format depends less on looks and more on who’s setting it up at 7am and what your shipping budget looks like.
200 square feet. That’s what you’re working with. And honestly? Most exhibitors who move up from a 10×10 to a 10×20 trade show booth waste half of it — they just spread the same old setup across twice the floor and wonder why traffic doesn’t double along with it.
I’ve walked hundreds of these aisles. The booths that pull people in aren’t the biggest or the flashiest. They’re the ones where every square foot has a job. So let me break down what actually fits, what it costs, and how to avoid the mistakes I keep seeing over and over.
What Is a 10×20 Trade Show Booth — and Who It’s For
A 10×20 trade show booth is a 200-square-foot exhibit space, usually configured as an inline (one open side), a corner (two open sides), or a peninsula (three open sides). It’s the natural next step up from a 10×10, and it’s where a lot of growing companies land once they realize a single 10-foot wall can’t tell their whole story.
Here’s the psychology nobody talks about. When you’re in a 10×10, you’re a vendor. When you’re in a 10×20, you’re a destination. Attendees read the extra space as a signal — this company invested, this company is serious. Is that fair? No. But it’s how the floor works.
So who should size up? My rule of thumb: if you’ve done two or three shows in a 10×10 and you’re consistently running out of room for even one demo or one conversation, it’s time. If you’re still figuring out your pitch, stay small. The worst thing you can do is buy 200 square feet and fill it with nothing but a table and a banner — you’ll look emptier than the 10×10 next door.
New marketing directors who inherit a booth with no budget and no time — I feel for you. This happens constantly. You walk in, there’s a 10×20 in storage, and nobody left you the manual. The good news is that a 10×20 is forgiving. You can build it out over a couple of shows instead of all at once.
10×20 Booth Formats Compared: Pop-Up, Modular, Fabric, Backlit, Canopy
You might be wondering which format actually makes sense. There’s no universal winner — it depends on how often you exhibit, how you ship, and whether you have a crew or just you and a rolling suitcase. Here’s how the main options stack up.
| Format | Typical Cost Range | Kurulum Süresi | Taşınabilirlik | En Uygun |
|---|---|---|---|---|
| Pop-up / portable display | Entry tier | Fastest — often one person | Highest — packs into cases | First-timers, road warriors, tight budgets |
| Modular display | Mid to premium | Moderate — needs planning | Medium — multiple crates | Companies that reconfigure per show |
| Fabric booth (tension-fabric) | Mid tier | Fast to moderate | Yüksek | Big graphics, lightweight travel |
| Backlit booth | Mid to premium | Orta | Orta | High-impact branding, dark halls |
| Canopy / inflatable tent | Entry to mid | Fast | Yüksek | Outdoor events, brand activations |
A few notes from the floor. A modular display is the most flexible thing you can buy — you reconfigure the same frames into different footprints, which matters if you sometimes get a corner and sometimes an inline. A fabric booth gives you huge seamless graphics with surprisingly little weight, which is why it’s become the default for a lot of mid-size exhibitors. A backlit booth is the one that makes people stop in a dim hall — light draws the eye, plain and simple.
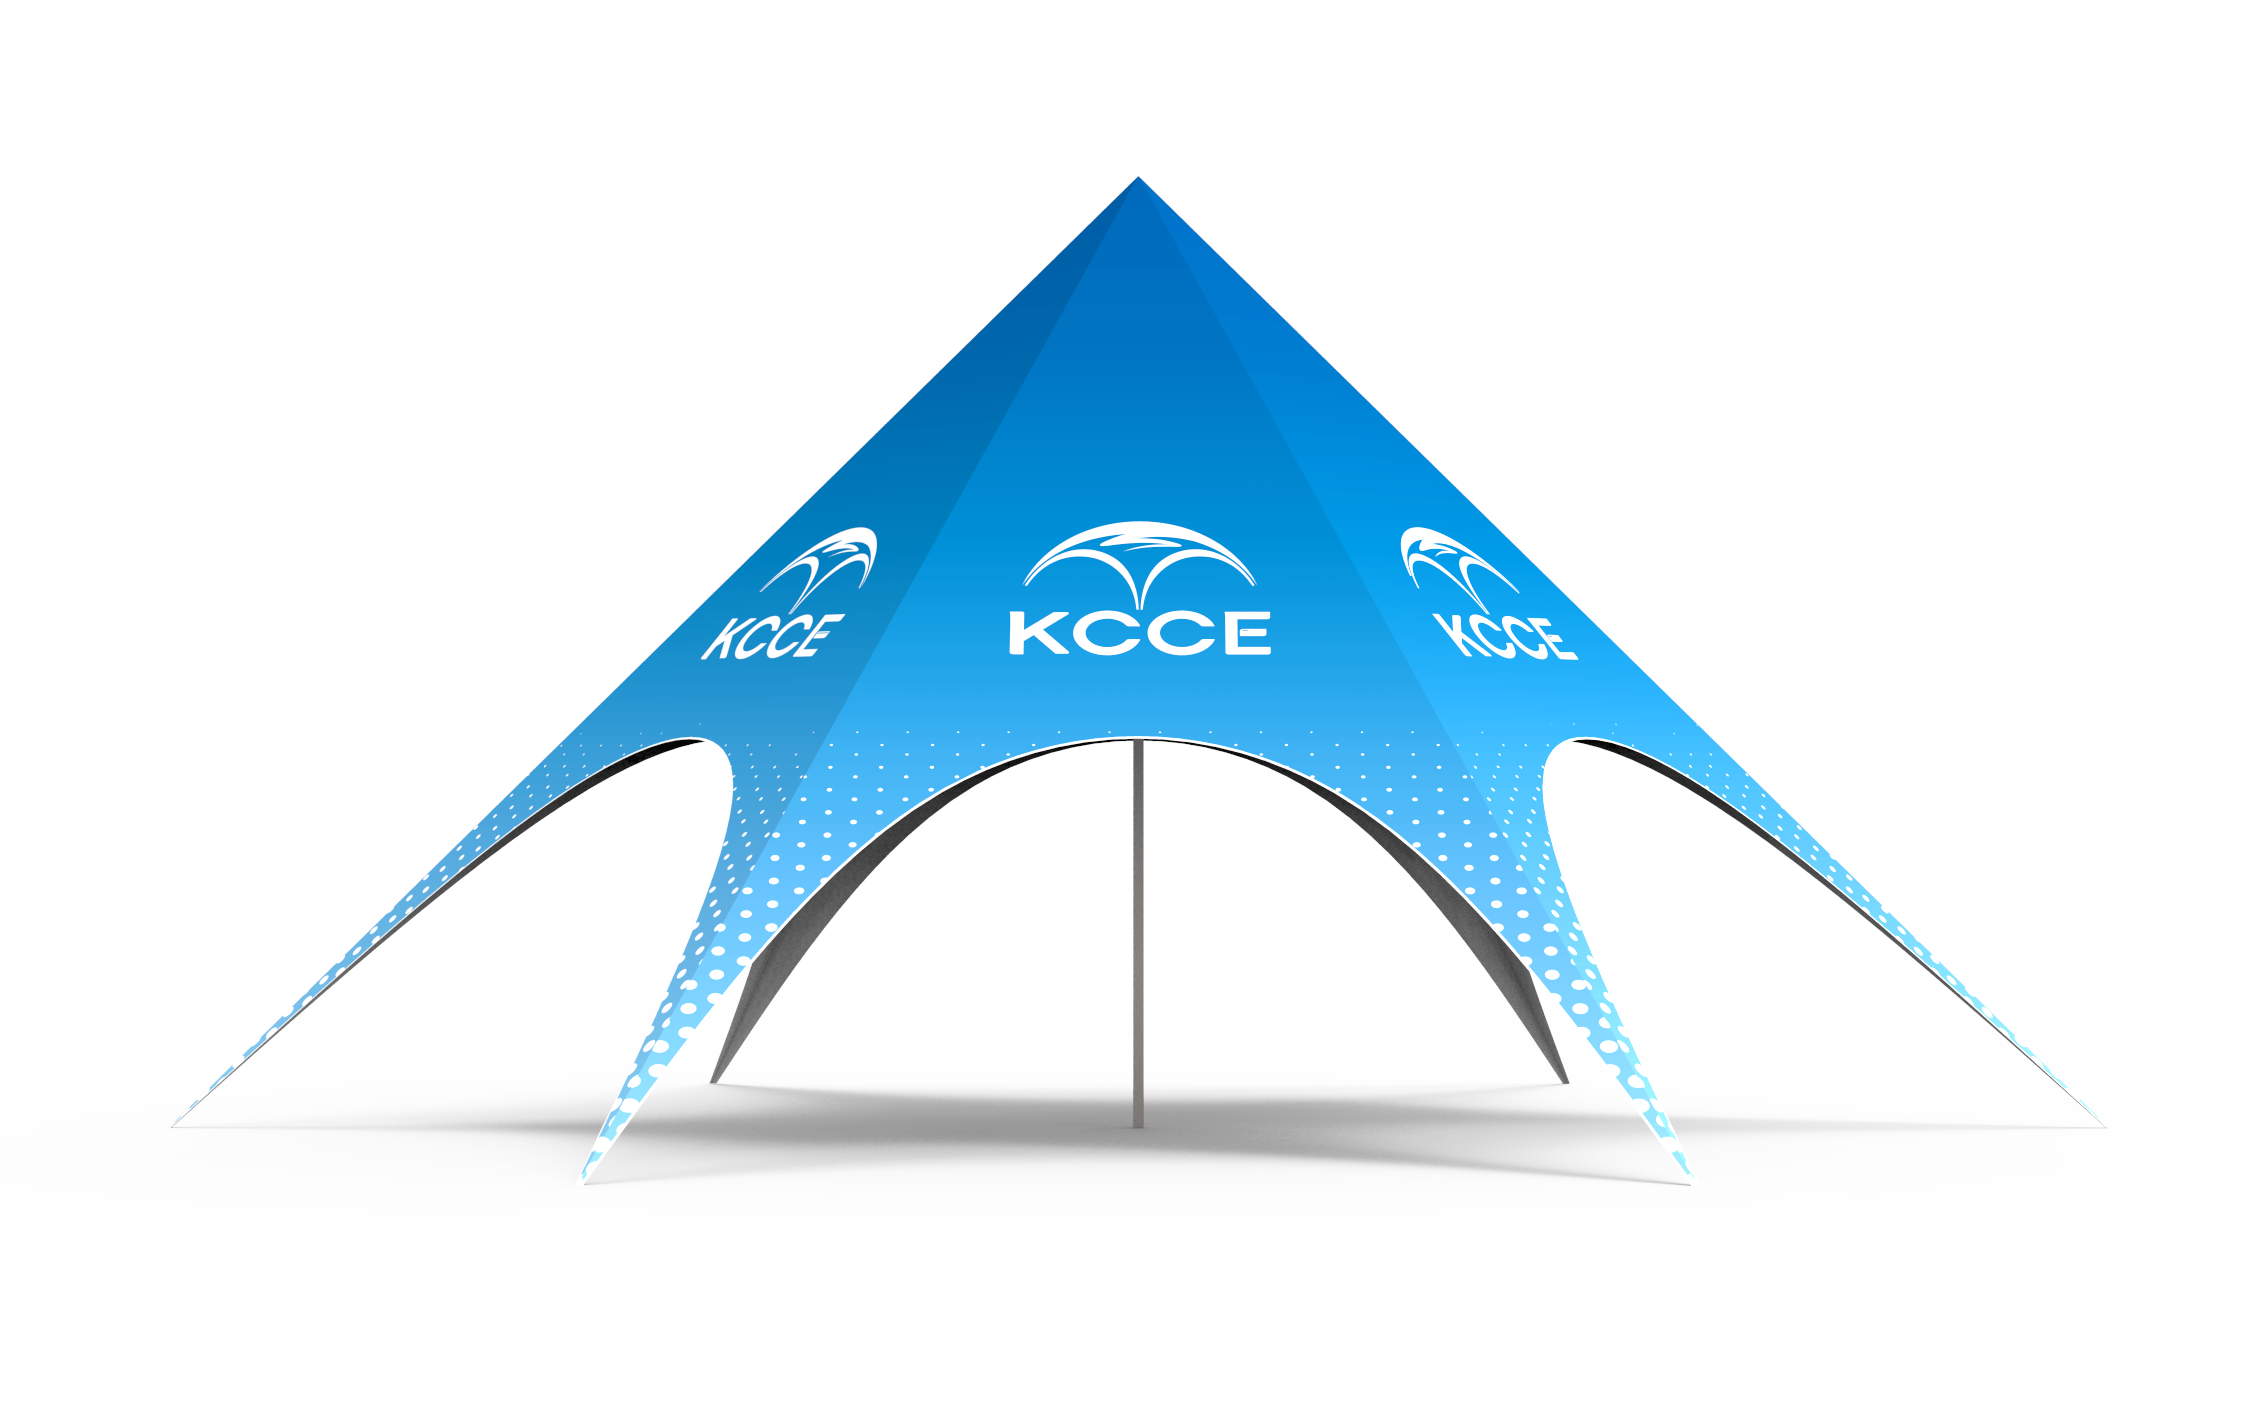
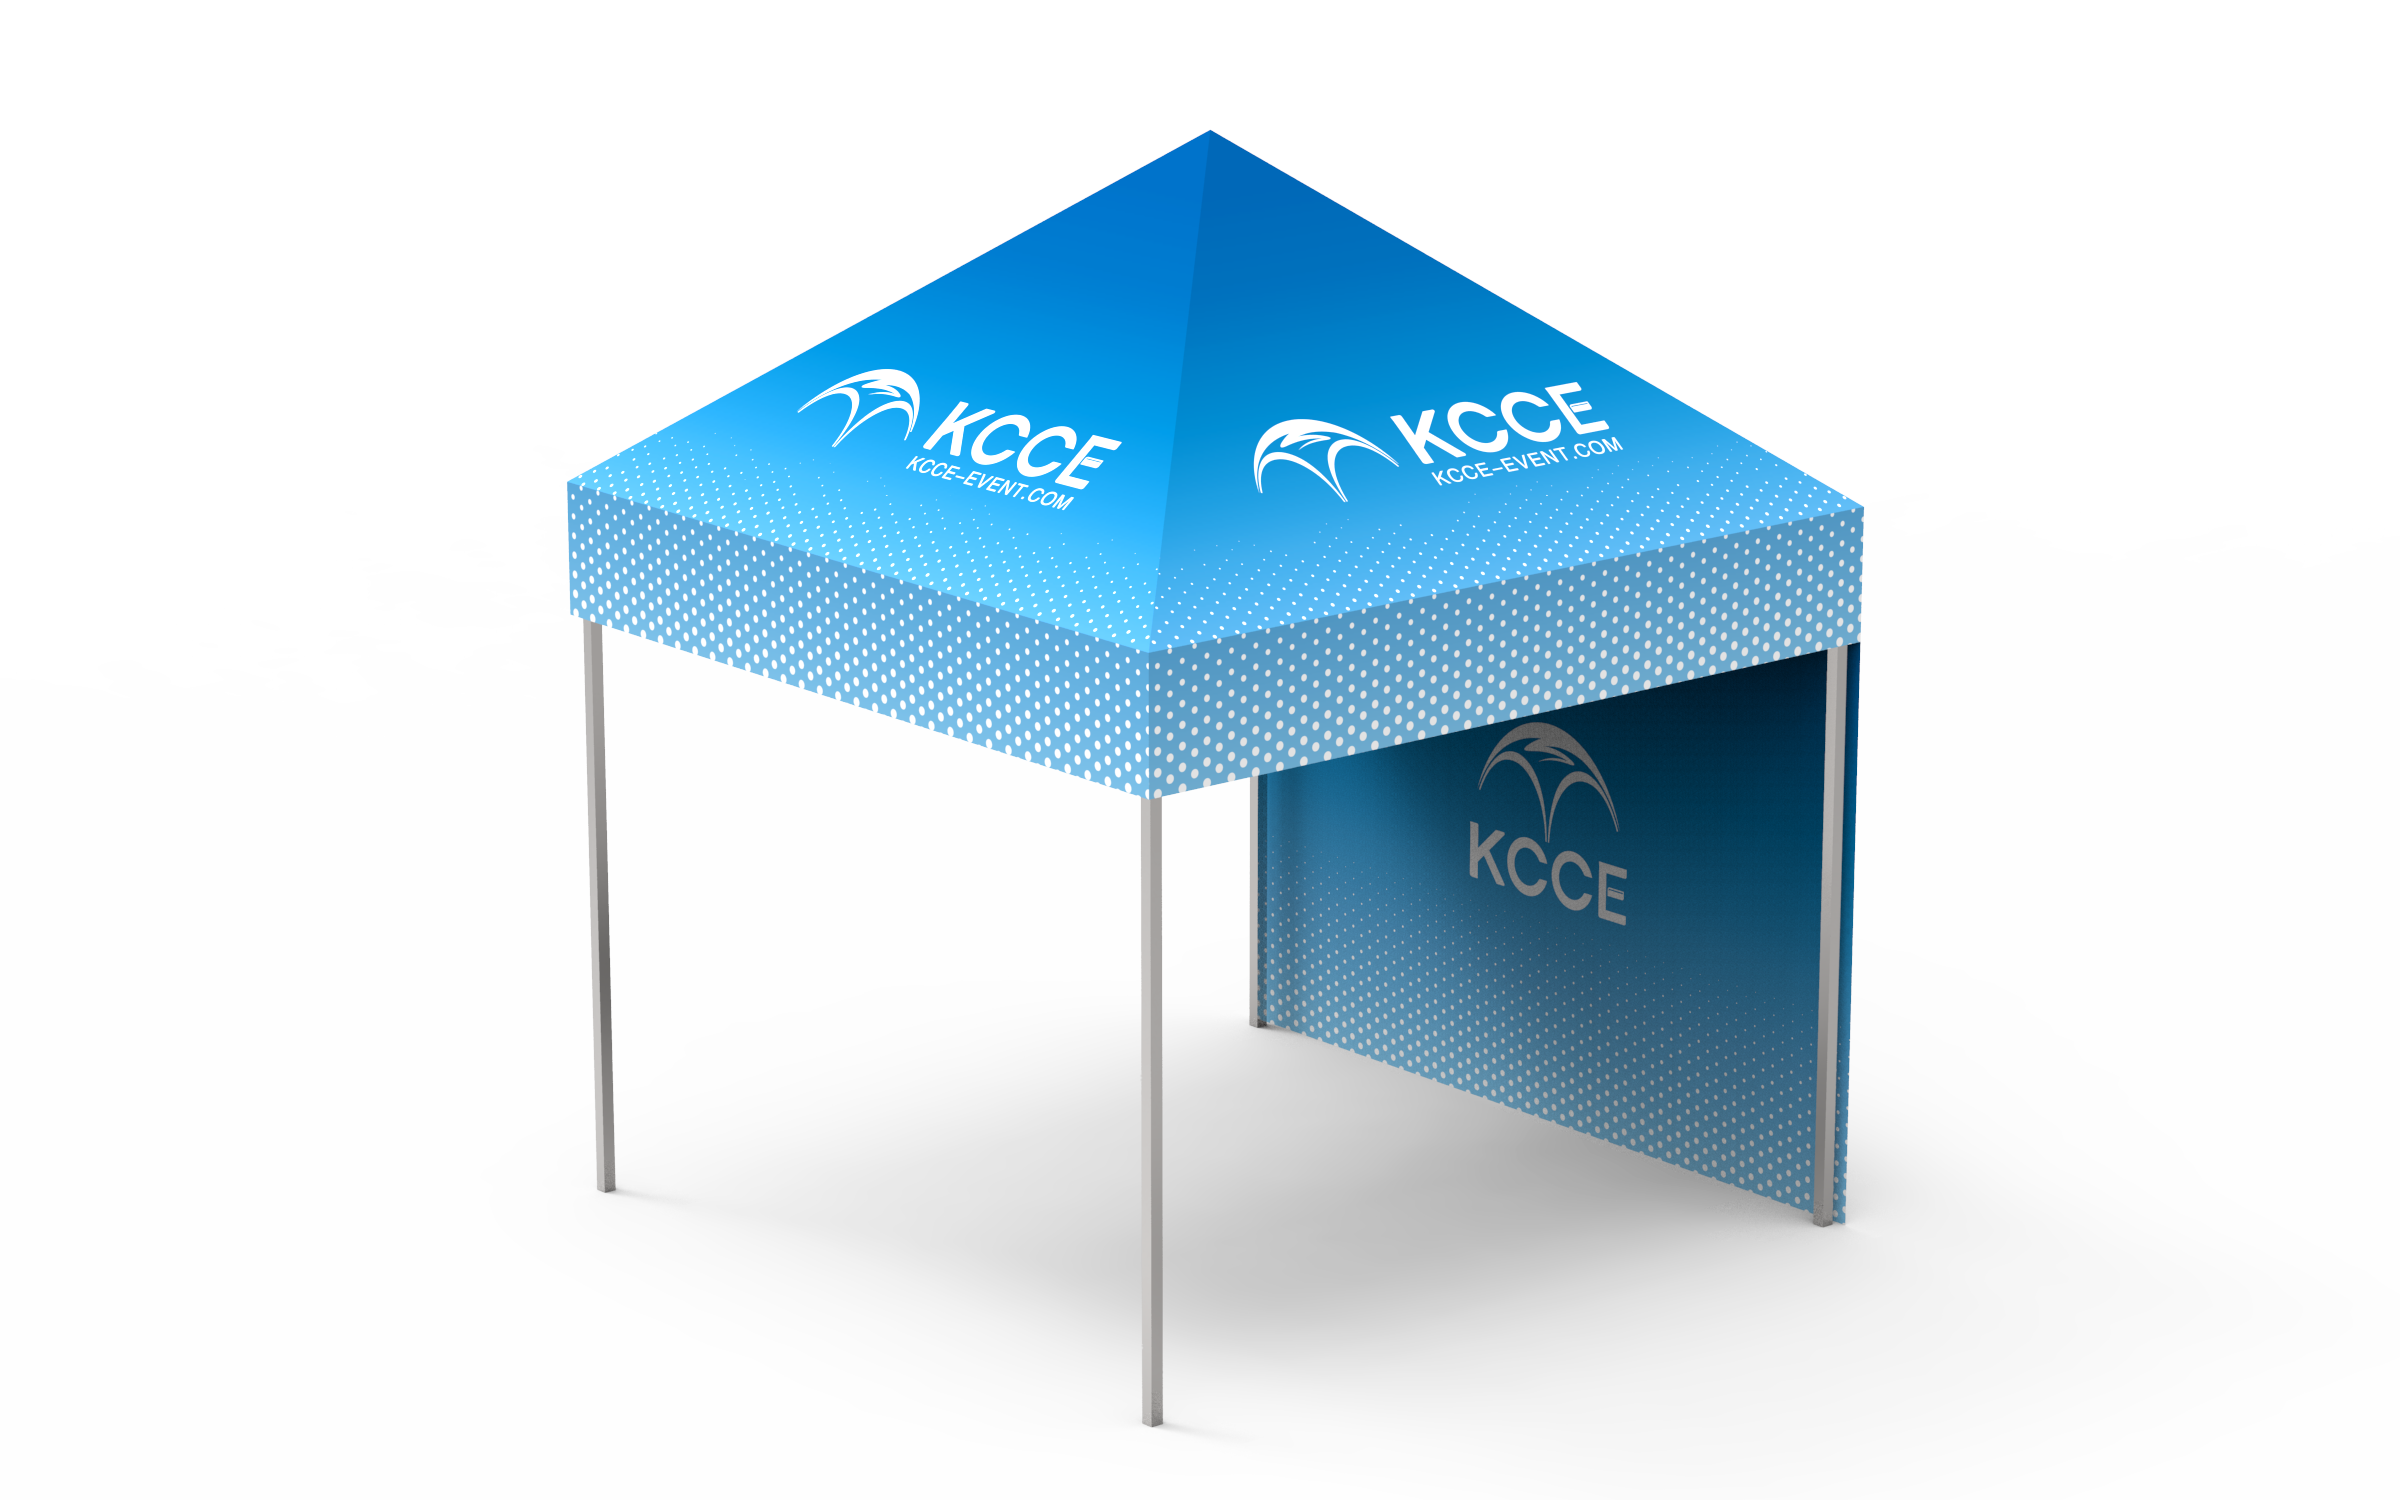
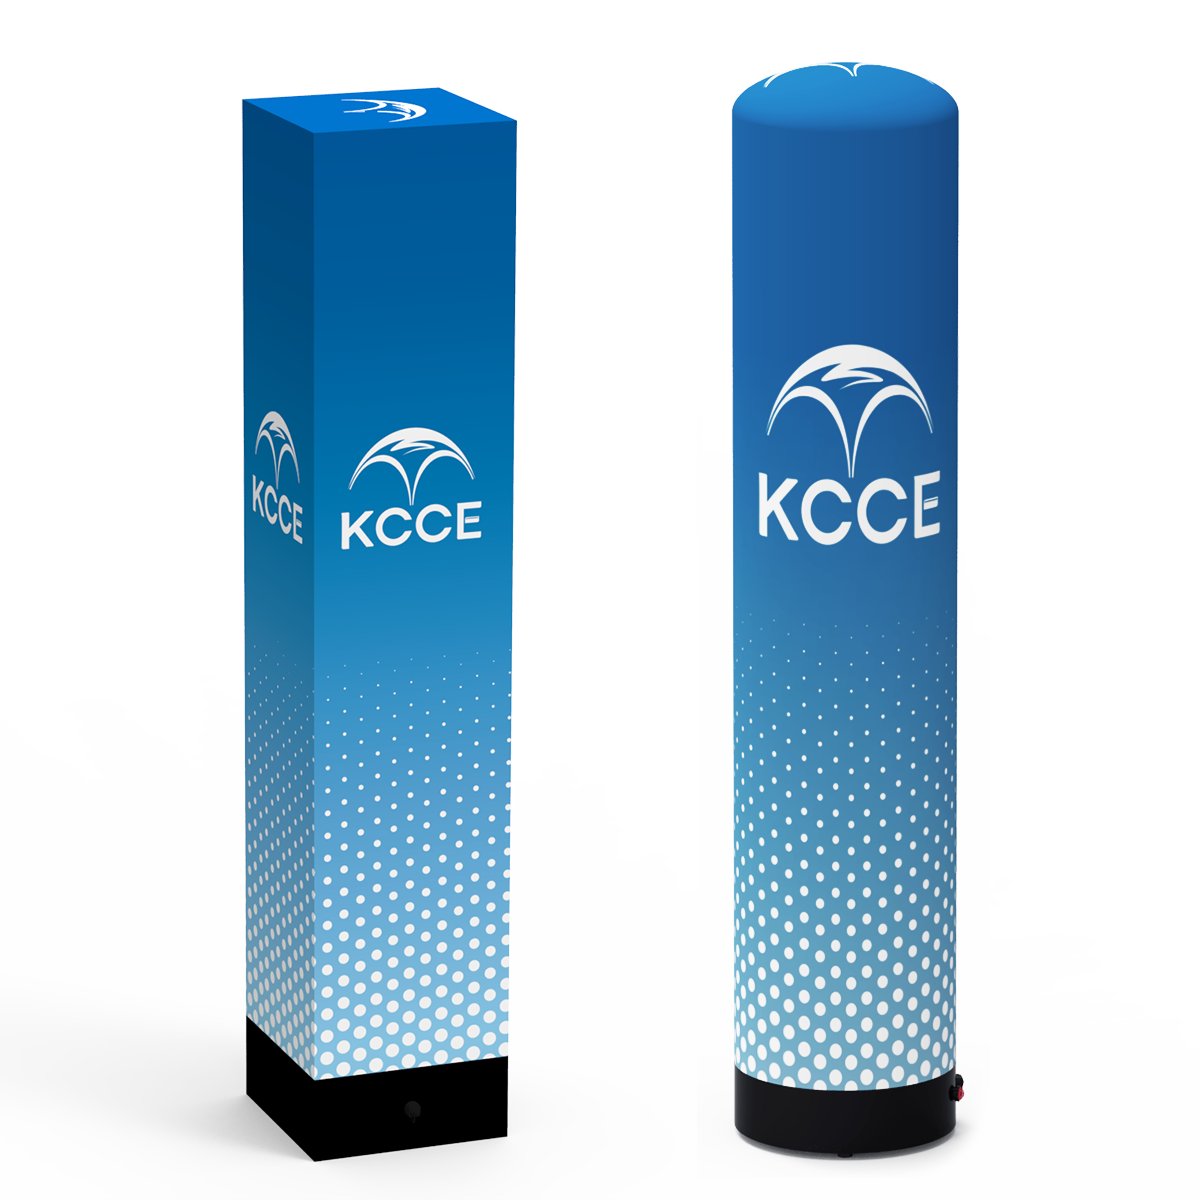
And don’t overlook the canopy route. Manufacturers like Dongguan City Dacheng Outdoor Products Co. Ltd. build trade show tents, inflatable gazebos, and modular canopy structures with customized graphics — the kind of thing that works double duty for outdoor activations and indoor brand promotions. If your calendar mixes conventions with festivals or races, a portable canopy setup can be a smart, budget-friendly bridge.
For a deep dive on specific configurations, the Exhibit Blog | Trade Show Advice | 10×20 trade show booth resources out there are worth bookmarking — vendors like Iconic Displays run ongoing articles tagged specifically for trade show booths 10×20, and they’re a decent starting point when you’re comparing formats.
What Does a 10×20 Trade Show Booth Cost?
This is where most guides go quiet, and it drives me nuts. Nobody wants to put numbers down. I’ll give you tiers instead of fake precision, because quotes swing wildly by vendor and customization level.
Entry tier. A portable pop-up or basic fabric display, off-the-shelf graphics, no lighting. This is the “get on the floor without breaking the bank” zone. You’re looking at a modest investment — think low four figures — and you can be set up in under an hour.
Mid tier. A modular or tension-fabric system with custom printed graphics, a counter, some lighting, maybe a small storage unit. This is where most serious exhibitors land. Budget accordingly and expect to spend meaningfully more than entry — but you get a booth that looks intentional.
Premium tier. Fully custom modular builds, integrated backlighting, custom millwork, furniture, AV. Five figures and up, easily. You’re buying a small architectural project at this point.
Now the hidden costs nobody warns you about. Shipping — a 10×20 ships in multiple crates, and drayage (material handling at the venue) is charged by weight and can sting. Installation and dismantle labor, if you’re not doing it yourself. Storage between shows. Graphics refresh when your messaging changes. Electrical and internet service ordered through the venue. Add these up before you sign, because they’re real and they recur every single show.
My honest advice: allocate your budget across design, hardware, and logistics before you fall in love with a render. The render is the cheap part.
What Fits in 200 Sq Ft: Layout Zones and Booth Ideas
Here’s the thing about 200 square feet — it’s enough for four distinct zones if you’re disciplined. Most people build one zone and let the rest go to waste.
- Engage zone (front edge): where you greet, with your strongest graphic and a clear opening. This is your storefront.
- Demo zone (center): the thing people came to see. A screen, a product, a hands-on station.
- Meet zone (side or back): a small seating area or counter for real conversations. This is where deals actually happen.
- Store zone (back corner): storage, bags, giveaways, staff water bottles. Hide it, but plan for it.
The layout patterns that work: a peninsula lets people walk in from three sides and creates natural flow — great if you’re demoing. An inline is a single long wall, so you build depth front-to-back and use height to compensate. A corner gives you two strong walls for graphics and one open face for traffic.
If you’re hunting for 10×20 trade show booth ideas that make a big impact, look at how the good ones handle height. A tall back wall with a lower front counter creates a sightline that pulls people in. ColorCraft’s design blog makes a solid case for minimalist elegance in a 10×20 — fewer elements, cleaner lines, and the eye goes exactly where you want it. That’s the move. Clutter kills a 10×20 faster than an empty one does.
For 10’x20′ Custom Vendor Booth | Portable Trade Show Stand searches, the pattern is usually the same: a portable frame, a custom-printed backwall, a counter, and lighting. That combo alone will outperform 80% of the booths around you if the graphics are sharp.
Setup, Portability, and Staffing Reality
Let me ask you something. Who’s setting this up at 7am on show day?
That question should drive your entire purchase. A pop-up or fabric booth can genuinely go up with one person in a reasonable amount of time — I’ve watched exhibitors do it solo with a coffee in one hand. A modular build with multiple crates, lighting trusses, and custom counters? That’s a two-to-three-person job, and if you don’t have the crew, you’re paying labor.
Portability isn’t just about weight — it’s about how many cases you’re wrangling and whether they fit in a rental car or need a freight shipment. For a portable setup, everything should collapse into wheeled cases you can check or ship without drama. For a custom modular, plan your freight and drayage from day one.
Staffing a 10×20: I’d say three people minimum, four if you’re running demos. One person works the aisle and greets, one handles demos, one manages conversations and lead capture. Any fewer and you’ll have people waiting — and waiting attendees walk away.
The logistical mistakes I see most: forgetting power drops, no plan for where bags and coats go, no lead-capture device charged and ready, and nobody assigned to break down at the end (everyone vanishes). Sort those before the show, not during.
Common Mistakes When Buying a 10×20 Booth
Overbuying hardware is the big one. People see a beautiful custom build and buy the whole thing, then realize they exhibit twice a year and the rest of the time it’s eating storage fees. Buy for your actual calendar, not your fantasy calendar.
Ignoring storage is next. Where does this thing live between shows? A 10×20 in crates takes real space. Factor that in.
No lead-capture zone — I can’t tell you how many gorgeous booths I’ve walked past where nobody could tell me how they’d follow up. The booth is a lead-generation machine or it’s art. Pick the machine.
Other traps: skipping the lighting budget (a dark booth in a bright hall disappears), graphics that list every product instead of one clear message, and no seating for real conversations. And please — train your staff on the 10×20 trade show booth layout before the doors open. Knowing where the demo station is shouldn’t be a show-day discovery.
If you want a structured way to think about Trade Show Booth Design 10 X 20, the framework is simple: message first, zones second, hardware third. Most people do it backward.
Design Trends and Creative Concepts for 10×20 Booths
The 10×20 footprint rewards a “zonal” layout over a flat one. The configuration I see working most often splits the 200 sq ft into three bands: a 4–5 ft open greeting zone at the aisle, a central demo/engagement island, and a back wall for storage and graphics. That aisle clearance matters — the ADA requires a 36-inch minimum accessible route, and most show halls enforce it, so don’t park a counter in the entry path.
Three concepts worth stealing: (1) the open-corner peninsula, where a 10×20 corner space gets a diagonal demo counter facing traffic from two directions; (2) the hanging-sign anchor, a fabric or tension banner suspended high overhead (check your hall’s rigging height and rigging requirements with the venue); (3) layered lighting, where backlit walls plus two or three spotlights pull the eye from 40 feet out. LED backlit fabric walls have become the go-to for dark halls because they read at distance without the glare of raw panels. Avoid the “spread it thin” trap — one strong focal point beats four weak ones every time.
Modular and Customizable Booth Options
Modular systems are where a 10×20 earns its keep, because the same kit should flex between an inline and a corner without a new purchase. The workhorse standard is aluminum extrusion framing on a 1-inch or 40mm profile with slatwall or fabric infill — Octanorm-compatible profiles are the industry lingua franca, so panels and accessories from different vendors usually play together.
What to spec: tool-free connectors (twist-lock or snap-fit) cut setup from hours to under 60 minutes; reconfigurable backwall kits let you run a straight 20-ft wall one show and an L-shape the next; stackable crates double as shipping cases and counter bases, which saves you freight and drayage. If you exhibit six-plus times a year, price out a modular kit against renting — rental runs at a fraction of purchase per show, so the break-even usually lands after several shows. Custom millwork looks great but doesn’t reconfigure; keep it to a single hero element and let the modular frame do the rest.
Product Examples and Catalogs
When you’re shopping, ask vendors for their catalog PDFs and spec sheets up front — the good ones publish footprint diagrams, weight-per-crate, and setup labor estimates. Portable pop-up lines (Nomadic, Expand, and similar) typically ship a 10×20 curved or straight pop-up in two cases, lightweight enough for one-person setup in a short window of time. Tension-fabric systems (e.g. the classic tube-and-graphic format) publish per-panel weights for a 3×8 ft graphic, per the vendor’s specifications, which is why they fly cheap.
For canopy and outdoor-capable structures, manufacturers like Dongguan City Dacheng Outdoor Products Co. Ltd. list trade show tents, inflatable gazebos, and modular canopy frames with custom-printed graphics — useful when your 10×20 doubles as an outdoor activation. Request: a dimensioned drawing, a bill of materials, lead time (custom graphics often take several weeks), and a freight quote to your show city. If a vendor can’t hand you a spec sheet with weights and dims, that’s your answer.
Case Studies and Success Stories
Concrete numbers from the floor: a B2B software exhibitor that moved from a 10×10 to a 10×20 with a two-station demo island reported a lift in qualified badge scans over the same show the prior year — the extra space let them run two demos at once instead of one. A medical-device company added a backlit wall and a hanging sign to its existing 10×20 and saw aisle stops climb noticeably, with the company reporting an increase in booth conversations. Neither of these is a guarantee — show traffic varies — but the pattern holds: the lift comes from parallel conversations, not from square footage itself.
On ROI: if your average deal size is $15k and your 10×20 costs $12k all-in (space, build, freight, staff), you need roughly one closed deal to break even — which is why sizing up makes sense once your 10×10 is turning away conversations. Track badge scans per staffer-hour and cost-per-lead; those two numbers tell you whether the upgrade paid.
10×20 vs. 10×10: When to Upgrade
A 10×10 gives you 100 sq ft and room for one conversation plus a counter. A 10×20 doubles that to 200 sq ft and, more importantly, lets you run two to three conversations simultaneously without crowding the aisle. The practical trigger points I use: you’re consistently turning away attendees because your one demo station is occupied; you need a meeting nook or a second staffer; or your product needs a physical demo footprint bigger than 6×6 ft.
Cost delta is real — 10×20 space typically costs more than the 10×10 rate, and build/freight scale with it. So don’t upgrade on ambition alone. Upgrade when your 10×10 has been full for two or three consecutive shows and your cost-per-lead is trending down (meaning you’re converting, not just collecting). If you’re still refining the pitch, a 10×10 plus a strong hanging sign will outperform an empty 10×20 every time.
Marketing and Engagement Strategies
Pre-show beats on-site. Send a targeted pre-show email in advance of the show with a calendar link and a booth-specific offer — exhibitors who book meetings in advance typically fill a meaningful share of their floor time before the doors open. On-site, staff the 10×20 with two people minimum and position one at the aisle edge (not behind the counter) to greet; a body at the entry roughly doubles stop rate versus a seated staffer.
Run a lead-capture incentive tied to a demo, not a raffle — badge scans from a real conversation convert far better than giveaway entries. Use a short qualifying question at capture (“what’s your current setup?”) so follow-up is personalized. Post-show, follow up within 48 hours while the conversation is warm; response rates drop sharply after a week. And measure: leads per staffer-hour, meetings booked, and cost-per-qualified-lead — those three tell you if the 10×20 is earning its freight.
Checklist for Booth Design and Pre-Show Planning
Design (8–10 weeks out): confirm footprint type (inline/corner/peninsula) and hall rigging height; verify 36-inch accessible aisle route; finalize zonal layout (greet/demo/storage); lock graphics files to vendor specs (confirm resolution and color mode with your vendor); order electrical and lead-retrieval service from the show’s exhibitor kit.
Logistics (4–6 weeks out): book freight and drayage; confirm setup/dismantle labor rules (many halls require union labor above certain heights); ship to the advance warehouse before the deadline to avoid surcharges; pack a setup kit (tools, spare bulbs, tape, printed instructions).
Marketing (2–3 weeks out): send pre-show email with meeting link; brief staffers on the qualifying question and demo script; print or load a lead-capture form; schedule post-show follow-up within 48 hours.
On-site: arrive for the setup window, walk the aisle sightlines from 40 feet, and test every light and screen before doors open.
Sonuç
Pick your 10×20 trade show booth format based on two things — your setup bandwidth and your all-in budget, logistics included — not on which render looked best in the catalog. The prettiest booth in the world is a liability if you can’t get it standing by 9am. Download a comparison table, get three real quotes with shipping and install itemized, and ask yourself one hard question: who’s actually setting this up on show morning? Answer that honestly and the rest gets a lot easier.
Sıkça Sorulan Sorular
Q: How much space is a 10×20 trade show booth?
A: It’s 200 square feet — exactly double a standard 10×10. That extra room lets you build separate zones for greeting, demos, meetings, and storage, which is the real upgrade. A 10×20 trade show booth gives you room to create flow instead of cramming everything against one wall.
Q: Is a 10×20 worth it over a 10×10?
A: In my experience, yes — once you’ve outgrown a single wall. A 10×20 trade show booth signals seriousness and gives you space for a demo and a conversation at the same time. If you’re still refining your pitch, stay in a 10×10 until you’re consistently running out of room.
Q: Can one person set up a 10×20 booth?
A: A portable pop-up or fabric booth, often yes. A modular or backlit build with counters and lighting, realistically no — plan for two to three people or paid labor. This is the single biggest factor in choosing a 10×20 trade show booth format.
Q: What’s the cheapest way to get a professional-looking 10×20?
A: A portable frame with custom-printed graphics, a counter, and good lighting. Skip the custom millwork. Plenty of vendors offer pre-designed booths where you submit your own artwork — that route keeps costs down while still looking intentional on the floor.
Q: What are good 10×20 trade show booth ideas that make a big impact?
A: Go tall with your backwall, keep the front counter low, and light it well. Use a clear four-zone layout and one strong message instead of ten product shots. Minimalist, well-lit designs consistently outperform cluttered 10×20 Trade Show Booths & Exhibit Displays in my experience.
Q: How many staff do I need for a 10×20?
A: Three minimum, four if you’re running demos. One greets, one demos, one handles conversations and lead capture. Fewer than that and attendees wait — and waiting attendees leave. Staffing is part of your booth budget, not separate from it.
Q: What hidden costs should I budget for?
A: Shipping, drayage (venue material handling), install and dismantle labor, storage between shows, electrical service, and graphic refreshes. These recur every show. Get them itemized in your quotes before you commit to a 10×20 trade show booth.
Q: Where can I find inspiration for cheap 10×20 displays?
A: Vendor blogs are a good start — Iconic Displays runs articles tagged specifically for trade show booths 10×20, and design studios like ColorCraft publish 10×20 exhibit ideas. Look for real show-floor photos with cost context, not just renders. Then compare 10 x 20 Trade Show Booths from at least three vendors.
Referanslar
1. Articles – tagged “trade show booths 10×20” – iconicdisplays.com
2. 10×20 Trade Show Exhibit Design Ideas – colorcraft3d.com
3. Custom 10×20 trade show booth ideas for High-Impact Advertising Displays – tianlanglightbox.com
4. Dongguan City Dacheng Outdoor Products Co. Ltd. — Trade Show Tents, Inflatable Gazebos & Canopy Structures – kcceinflatable.en.made-in-china.com