
20x20 Canopy Tent: What a 400 sq ft Site Actually Needs
A 20x20 canopy tent enquiry usually arrives as a site drawing: twenty feet by twenty feet, 400 sq ft, roughly 37 m2. Our product manuals name thirteen air-frame families in metres, so the first job is to turn that imperial footprint into a documented size and a written layout. This page sets out what to measure on the ground, three ways to cover the same area, and the drawing we send back. Custom print starts at one unit. 20 years of manufacturing experience.
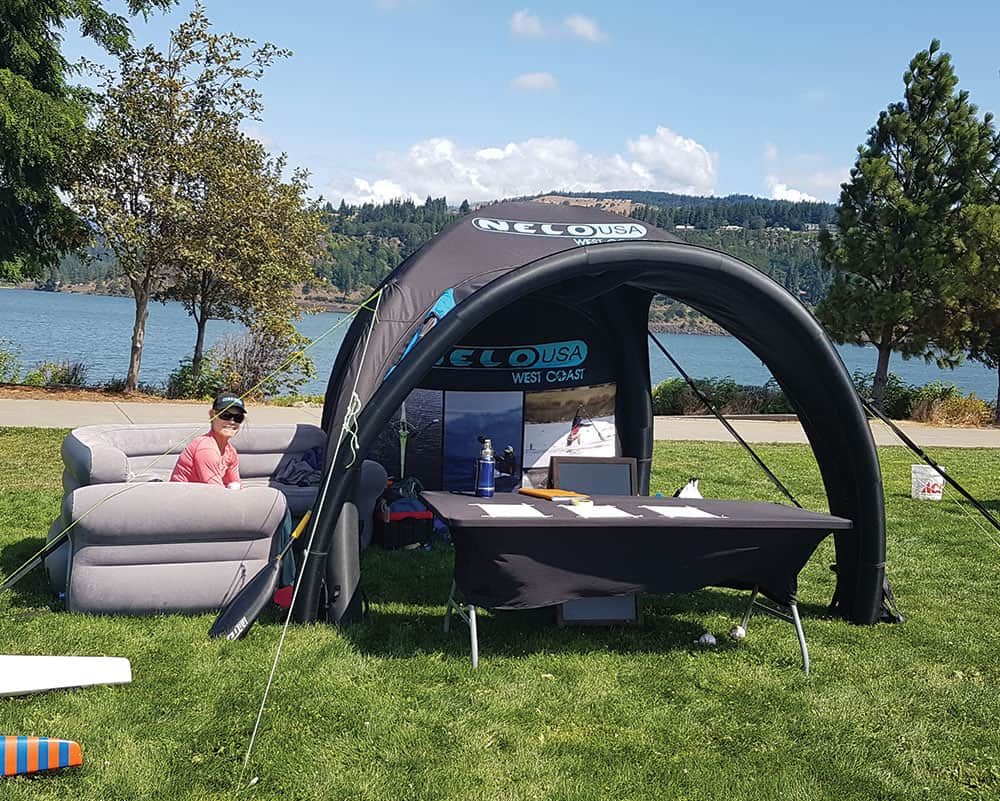
Quick Answer: what does a 20x20 canopy tent actually refer to?
A 20x20 canopy tent is a site or stand measuring 20 ft by 20 ft — 400 sq ft, about 37 m2. It is not a KCCE model name. No product manual lists a 20x20 size or a 6.1 m square. What we can specify in writing is one of the published metric sizes that reaches that order of area: the N manual lists 4×6M and 5×10M, XL-A up to 7.5×4.8M, XL-B 8×4.5M and 9.4×5.5M, and XII up to 10M. Several same-size units can also be joined using the modular aluminium connectors named in the X, X6, XL-A and XL-B manuals. Custom print starts at one unit, pricing is Quoted per project (FOB), and production time is confirmed in writing after design approval.
What You’ll Learn
- 01What a 400 sq ft Site Measures
- 02Three Ways to Cover the Same Area
- 03Which Listed Sizes Cover This Scale
- 04Four Measurements to Take on the Ground
- 05What Fits Inside 400 Square Feet
- 06One Structure or Several Joined
- 07Ground, Fixings and the Site Edge
- 08From the Survey to a Written Drawing
- 09Pricing & Minimum Order
- 10Three Sites, Three Layouts
- 11FAQ
- 12Customer Cases
What a 400 sq ft Site Measures, and What It Does Not
Most problems with a large stand begin before any product is discussed. Someone receives a plot described as twenty by twenty, assumes it is a tent size, and asks for a quote against a label that no manufacturer uses. The number on the booking form describes the ground. The number in a product manual describes a structure. They are different things.
Twenty feet by twenty feet is 400 sq ft, approximately 37 m2, or about 6.1 m by 6.1 m. Those are conversions, not specifications. KCCE publishes thirteen air-frame families, each with its own listed metric sizes: AI, AII, U, VI, VII, F, N, X, X6, XII, XL-A, XL-B and the Inflatable XIC. None of them is called 20x20. The largest square listed in the N manual is 5×5M; the rectangular formats go further, with 4×6M and 5×10M, and XL-B reaches 9.4×5.5M. So a request for a 20x20 event tent is not answered by finding a matching box in a catalogue. It is answered by reading the drawing.
The second distinction is between the plot and the usable rectangle. A venue gives you an area; walls, kerbs, neighbouring frontages, a required aisle and a queue take part of it back. On a paved square nothing can be driven into the floor, and on a hall stand the organiser may require a drawn layout before approval. On open grass the ground allows ground stakes, but trees or rigging may cap the height. These are site facts, and they decide the layout before any size is chosen.
This page deliberately starts where the other pages stop. The 10x10 inflatable tent, 3x3, 4x4 と 5x5 pages each explain one published size and what it is used for; the インフレータブルテントのサイズは page is the chart of those formats. The custom tent page is the decision hub for what can be specified at all. The purchase canopy tent page deals with what arrives after an order. Here the subject is the buyer's site: a footprint that already exists, and the measurements needed to turn it into a written plan. If by canopy you mean a folding scissor frame that springs open, the pop up canopy tent page compares that family with the inflatable one.
We do not publish a size that a manual does not record. Where a figure is missing from the documentation we say so, and where the venue has a rule we ask for the sheet. A quotation built on an invented dimension is a quotation that will be revised on site, which is the most expensive place to revise anything.
重要ポイント
- 20x20 ft is a site footprint of 400 sq ft (about 37 m2), not a KCCE model name or a listed tent size.
- The usable rectangle is smaller than the booking once setbacks, aisles, a queue and storage are drawn in.
- Published metric sizes reaching this scale include N 4×6M and 5×10M, XL-A 7.5×4.8M and XL-B 9.4×5.5M.
- Ground, headroom and vehicle access are measured before a size is chosen; the fixing kit is written per floor zone.
- Custom print MOQ is 1 unit; price is Quoted per project (FOB) and lead time is confirmed in writing after design approval.
Three Ways to Cover the Same Area
The three photographs below are three different site readings: a hard edge on paving, a delivery route on concrete, and open ground with height above it. The cards after them set out the three layouts that a 20x20 booth footprint usually becomes. Whether the enquiry says 20x20 canopy tents, 20 by 20 canopy tent または 20x20 tent layout, the survey is the same.
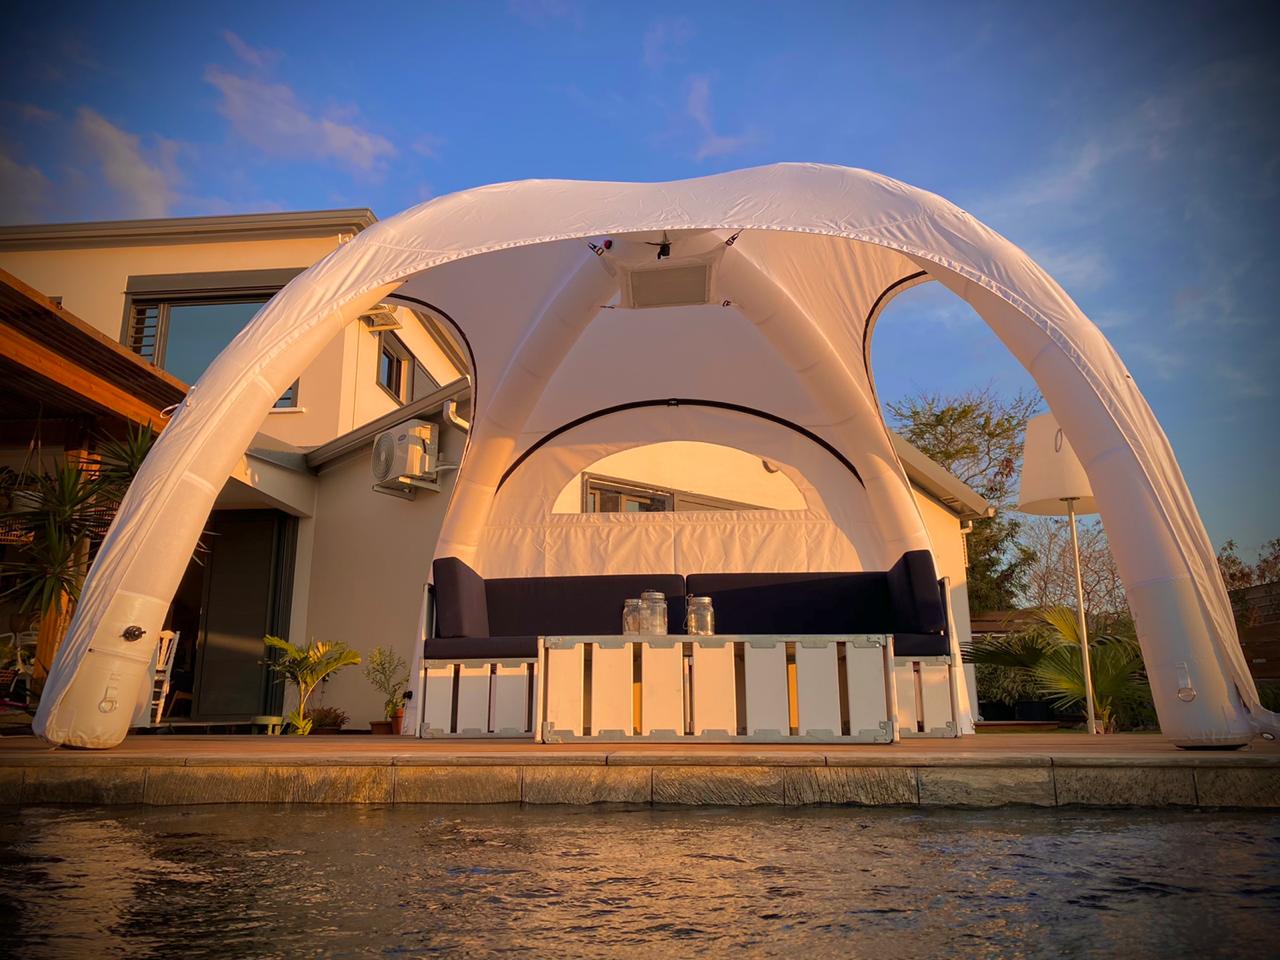
A Paved Terrace Starts at Its Edge, Not at Its Centre
An unprinted white canopy on paving with a building behind it. On a hard surface the usable rectangle is set by the wall, the kerb and the route people take past them, not by the nominal square on a booking form. Measure the clear length and width between those edges before anyone talks about a tent. Stakes are not the fixing method here, so the floor also decides which kit belongs on the plan.
- Paved surface
- Clear edges
- Weighted fixing
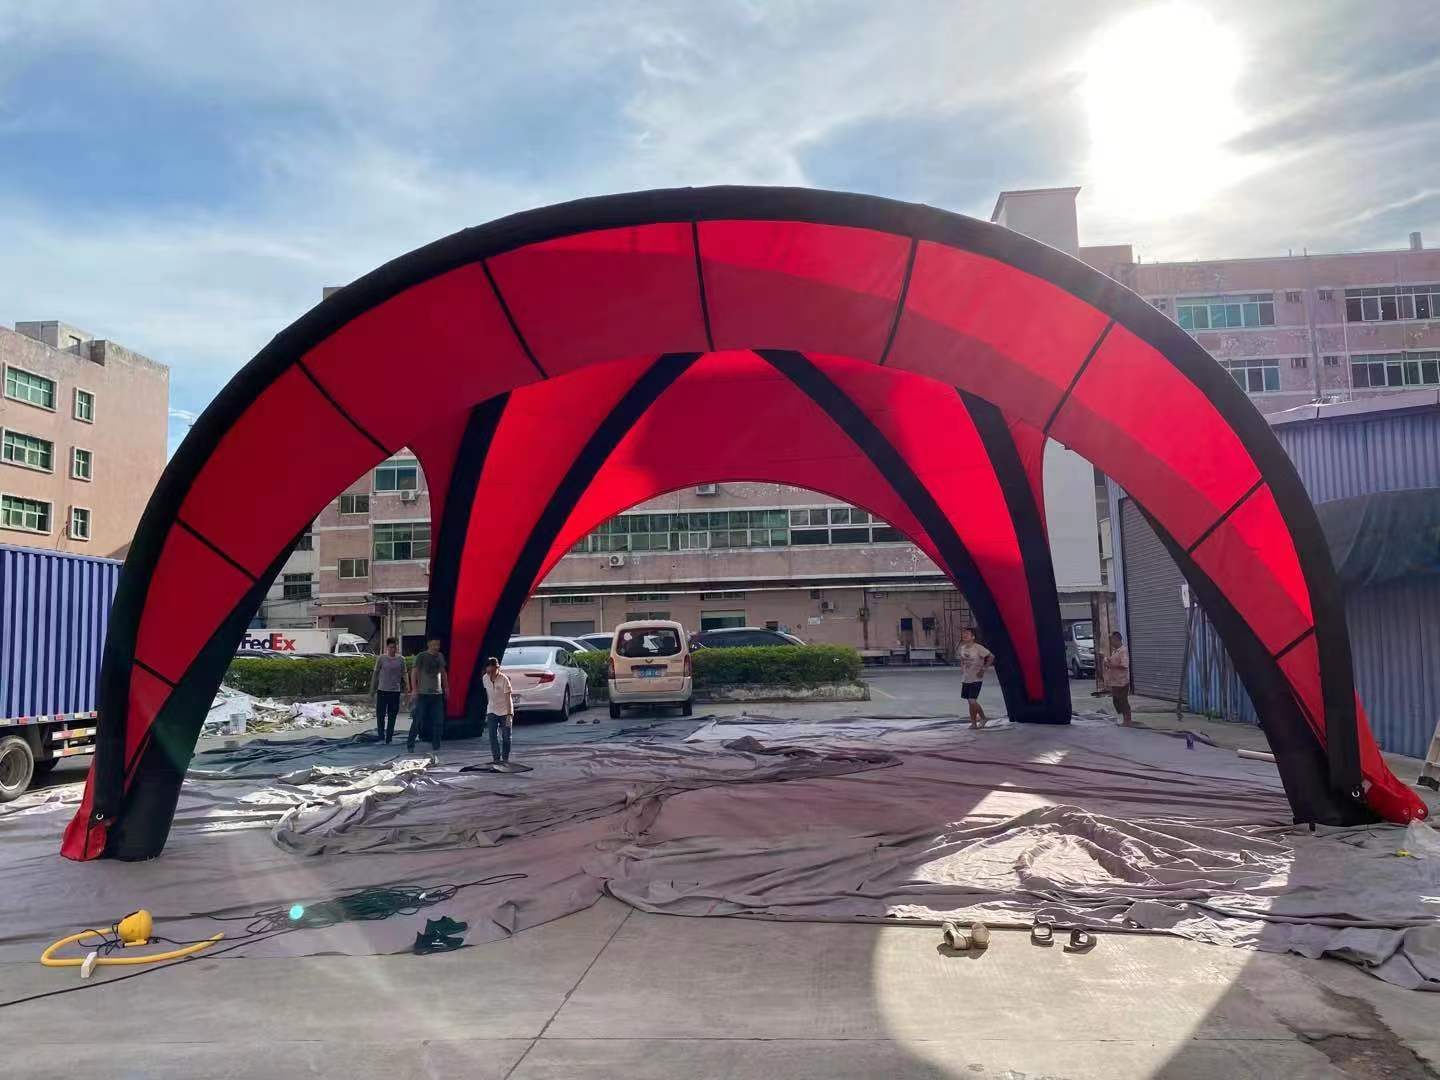
An Unpacked Arch Is Also an Access Question
An air-tight arch laid out on a concrete yard. Large-span parts travel as long packages, so the route from the vehicle to the pitch is part of the site survey: gate width, turning space, any low beam and the surface the crew will carry across. A 400 sq ft canopy tent plan that fits the drawing but not the delivery route is not a plan yet.
- Concrete hardstanding
- Vehicle access
- Long packages
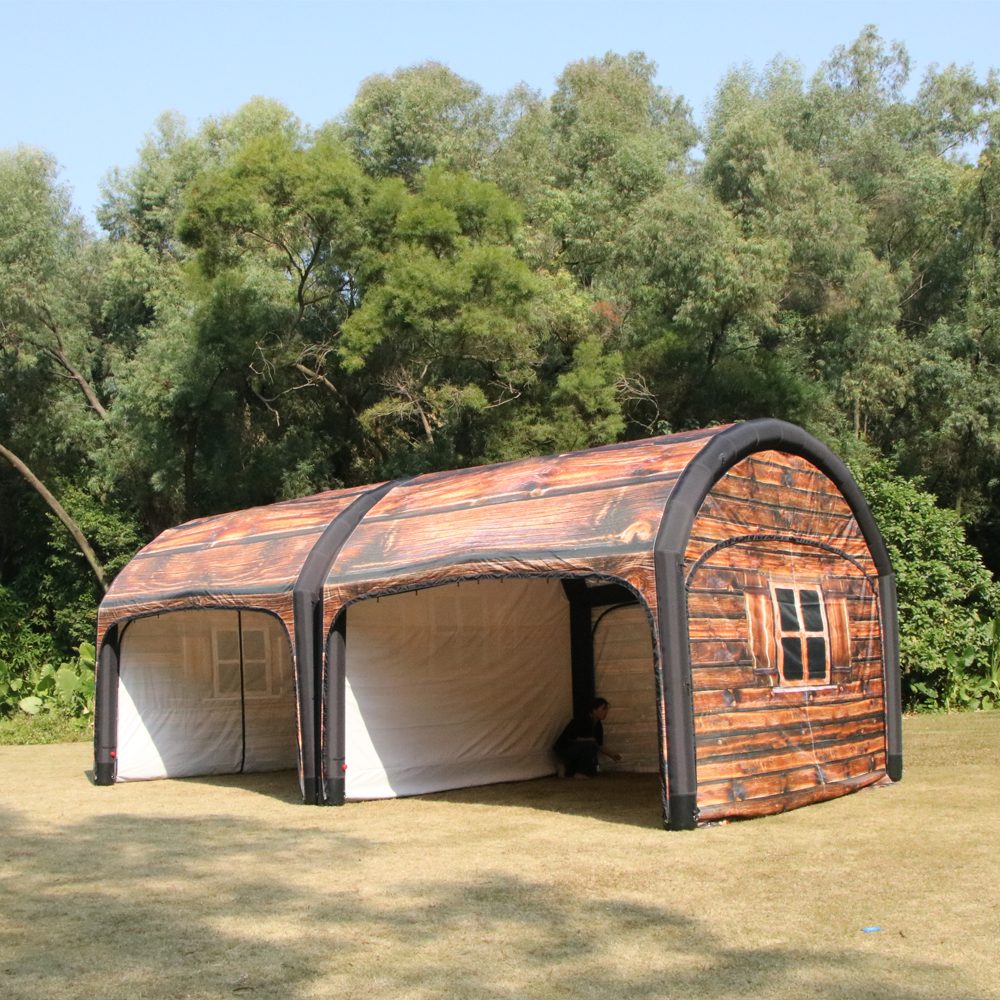
A Printed Structure Still Needs Headroom
A full-graphic structure on open grass. Soft ground allows guy ropes with ground stakes, which are the documented fixing method for sand and grass, but open ground brings a different check: overhead branches, lighting rigs and sightlines. Record the available height above the whole footprint, not just above the middle of it. The printed faces can then be matched to the approved artwork sheet.
- Grass with stakes
- Available headroom
- Approved artwork
One rectangle, one long rectangle, or a run
Three layouts cover the same 20x20 booth footprint: a single square-ish unit, one long rectangular listed size, or several joined units with a shared frontage. Which one is right depends on the drawing and on how the site is entered. None of the three is a model name; each is a way of arranging documented sizes.
- Single unit
- Long rectangle
- Joined units
The plan is smaller than the booking
A hired 20 x 20 ft plot rarely gives all of its area to the canopy. Aisles, setback from neighbouring stands, a queue, a counter and a storage corner all take space. Put them on the drawing before choosing a size, otherwise the structure that fits the numbers will not fit the event.
- Setbacks
- Circulation
- Storage corner
Joining parts are named on the sheet
The X, X6, XL-A and XL-B manuals list modular aluminium connectors, and the XL-A manual names wide and narrow connecting cloth. When a large canopy tent layout uses more than one unit, those parts belong on the written drawing with the structures, so nobody has to decide on site how the frontage closes.
- Modular connectors
- Connecting cloth
- One frontage
Which Listed Sizes Cover This Scale
Five KCCE ranges appear below because each manual records something useful for a large site: a long rectangular format, a wide format with connecting cloth, a documented way to join units, or a compact bay for the edge of the plot. These are listed specifications, not recommendations, and no card claims a 20x20 size exists.
N Inflatable Tent

The N manual is the one that writes down the long rectangular formats, including 4×6M and 5×10M alongside its square options. When a 20 x 20 canopy tent enquiry describes a deep site rather than a square one, a long rectangular listed size is usually a better starting point than trying to force a square plan onto it. The shape on the drawing decides which column of the manual we read.
XL-A インフレータブルテント
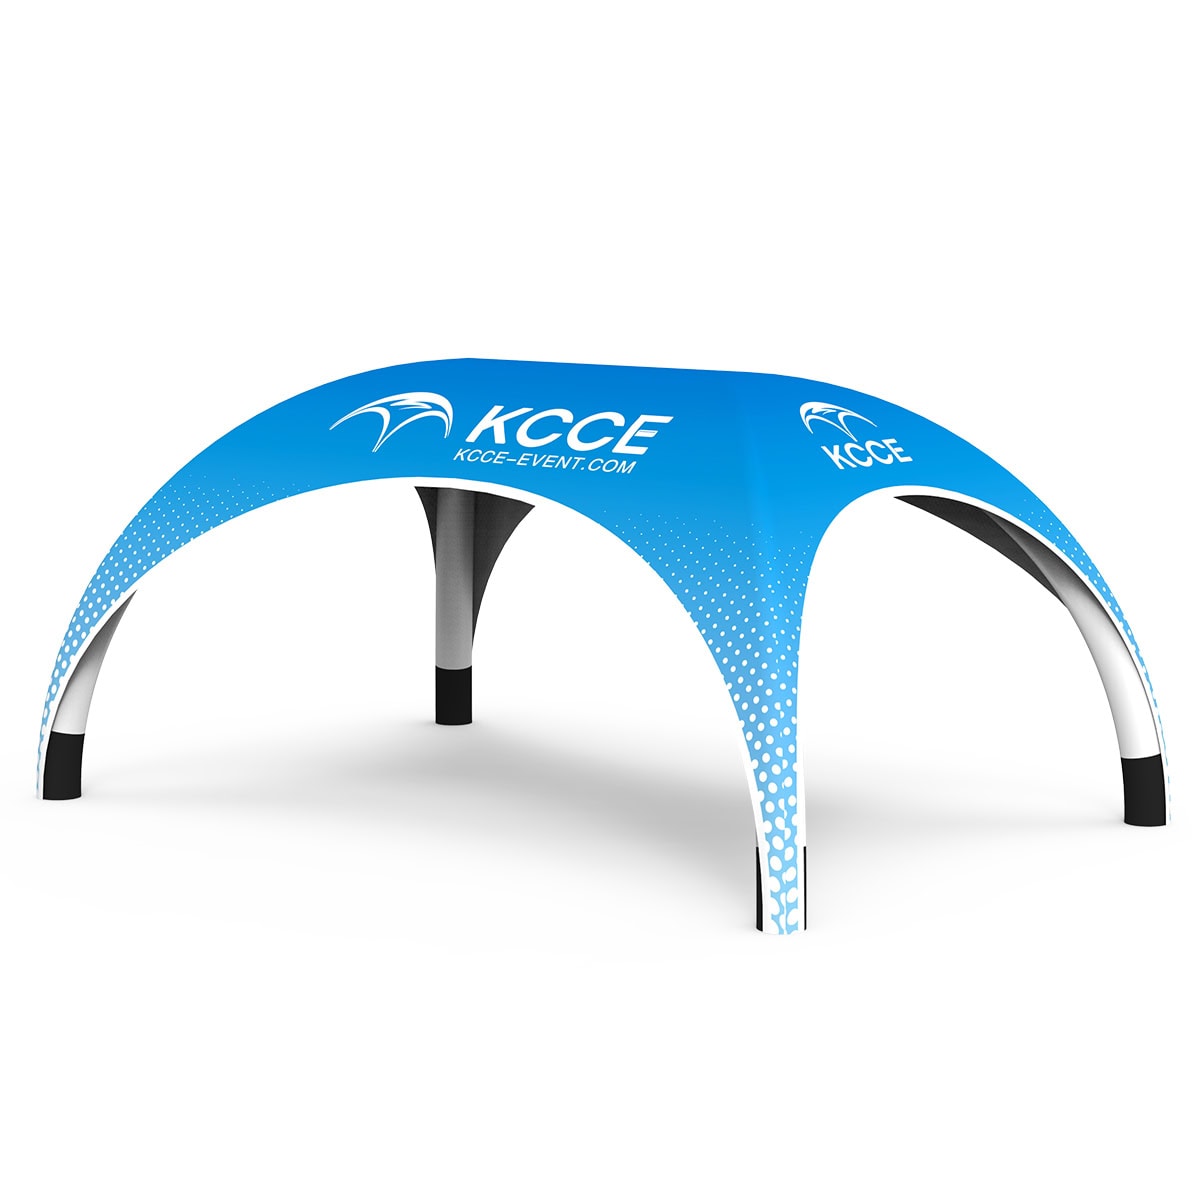
XL-A is listed at 4.5×3M, 6×4M and 7.5×4.8M, and its manual is the one that names wide and narrow awnings plus wide and narrow connecting cloth. That matters on a large site: the footprint on the drawing is not always one unit, and the joining pieces have to be named on the same sheet as the structure rather than discovered on the morning of the build.
X インフレータブルテント

The X-series manual lists modular aluminium connectors for joining units of the same size, and awnings and banners as named items. It is also the only manual that writes down a fabric density and a printing method: 400D Oxford cloth with heat transfer printing. For a 20x20 booth footprint that has to be split into two arrivals or two zones, this is the documented way to make one frontage.
AII Inflatable Tent

AII is listed in the compact 3M and 4M formats and its manual names iron blocks as the way to hold the legs down. On a paved 400 sq ft canopy tent site, a group of smaller units can be a more workable answer than one large span, because each bay can be positioned around a column, a queue or a doorway. The weights are a line on the plan, not an accessory someone adds later.
AI Inflatable Tent

AI is listed at 2.5M and 3M, with the canopy attached by hook-and-loop rather than a zip. It is useful at the edge of a large site: a reception point, a sampling counter or a staff bay placed outside the main covered area. A 20x20 tent layout often needs one small structure as well as one large one, and the manual gives us a documented format for it.
Four Measurements to Take on the Ground
Six lines below, four of them measurements. Bring them back from the site before asking for a quotation; they are what turns a footprint into a drawing that a workshop and a venue organiser can both read.
Clear length and clear width, measured between obstacles
Measure the usable rectangle, not the one printed on the site booking. Note every fixed object inside it: columns, kerbs, planters, power boxes, neighbouring frontages. A 20x20 canopy tent enquiry that arrives with only two numbers usually loses a metre to something that was not on the form.
Available headroom over the whole footprint
Record the lowest overhead obstruction across the entire area, including branches, rigging, canopies and door headers. The middle of a site is rarely the constraint; an edge often is. This line is what stops a tall printed face from being re-cut after arrival.
The floor at each part of the site
Grass and sand take the documented guy ropes with ground stakes. Paving, a hired hall floor or any surface that must not be drilled takes guy ropes with sand bags. Some ranges name their own weights, so write the surface next to the zone it belongs to.
How the structure and the crew get in
Gate width, turning space, the distance from the vehicle to the pitch, any steps and any low beam. Long packages for a large span need a route as much as they need an area. This is the line most often missing from a first enquiry.
What the site has to hold on the day
Counters, display plinths, a queue, staff storage, a demonstration area and the way visitors enter and leave. Four hundred square feet sounds generous until those are drawn to scale. List them before the size is chosen, not after.
The fixed date and the venue's own rules
Some venues require a drawn layout before they approve a stand. Send the date and any organiser sheet with the first message so the written drawing can be prepared against the real deadline. We confirm production time in writing after design approval.
What Fits Inside 400 Square Feet
A site is a container for an event, not just a rectangle to roof over. Counters, a queue, a demonstration area and the route in and out all claim part of it. A 400 sq ft canopy tent plan that ignores them will be revised on the morning of the build.
The covered rectangle is not the whole booking
A 20x20 ft plot measures 400 sq ft, roughly 37 m2. That is the area of the site, not a tent size in any KCCE manual. Setbacks from neighbouring stands, an access aisle and the space a queue occupies all come out of it before a canopy is drawn. Buyers who skip this step end up with a structure that fits the booking form and not the event.
What goes inside decides the shape
A demonstration area wants a clear open front and a long sightline; a sampling counter wants a shallow bay with the queue outside; a product display wants wall area. Each of those points to a different arrangement of the same footprint. This is why we ask what the site has to hold rather than only how large it is.
Printed faces are planned on a drawing, not on site
Roof, valance, walls, awning banner, arch banner and column patches are all named on one approved artwork sheet. On a large frontage the continuity between a curved roof and a narrow strip is a layout decision made before printing. The X-series manual is the one that writes down 400D Oxford cloth and heat transfer printing.
Joining units changes the drawing, not the manual
The X, X6, XL-A and XL-B manuals list modular aluminium connectors for same-size units, and XL-A names wide and narrow connecting cloth. A joined frontage is therefore a documented option with parts that must appear on the written layout. We do not invent a larger size to make the numbers look tidy.
One Structure or Several Joined
This is the decision a large site forces early. The manuals document both routes, and neither requires inventing a size. Four lines are enough to put the choice on paper before the artwork sheet is drawn.
A single published size keeps one drawing
Where the usable rectangle is long, the N manual's 4×6M and 5×10M are the documented starting point. Where it is wide, XL-A up to 7.5×4.8M and XL-B at 8×4.5M or 9.4×5.5M are recorded options. One structure means one set of printed faces and one fixing line per floor zone.
Joining parts are documented, not improvised
The X, X6, XL-A and XL-B manuals list modular aluminium connectors for joining same-size units, and XL-A names wide and narrow connecting cloth. A joined frontage puts those parts on the written layout next to the structures, so the closing panel is ordered rather than improvised at the venue.
A small bay can solve the edge of a plot
AI at 2.5M and 3M, and AII at 3M and 4M, are documented compact formats. A reception point, a sampling counter or a staff bay often belongs outside the main covered area. Naming it on the drawing keeps the large structure clear for the activity that needs it.
No manual lists a 20x20 model
We will not put a 20x20 designation on a quotation, and we will not supply a 6.1 m square as if it were a listed format. Where a figure is not in the documentation we say so. The written drawing names a real model and one of its real published sizes.
Ground, Fixings and the Site Edge
Six steps from arriving at the site to asking for the drawing. All of them are possible before anything is ordered, and each one removes a reason to revise the plan on the day. A 20x20 inflatable tent layout is only as good as the survey under it.
Mark the usable rectangle
Walk the site and mark the clear length and width between fixed obstacles. Photograph the corners. A 20x20 booth footprint on a booking form is a starting point, not a survey.
Measure the lowest headroom
Check above the whole area, especially the edges near buildings, trees and rigging. Note the lowest point and what causes it, so the drawing can show where a tall face will not fit.
Name the floor zone by zone
Write the surface next to each zone. Guy ropes with ground stakes are documented for sand and grass; guy ropes with sand bags for surfaces that must not be drilled. U, VI and VII name bar bags, AII names iron blocks and XII names strip sand bags.
Trace the access route
From the vehicle to the pitch: gate, turning space, steps, low beams and the surface underfoot. Large-span parts travel as long packages, and the route has to accept them.
Place the contents on the plan
Counters, displays, queue, storage, entry and exit. Once those are drawn to scale, the choice between one long rectangle, one large unit or several joined units usually makes itself.
Ask for the drawing in writing
Send the measurements, the floor, the access notes, the contents and the fixed date. We return a written layout naming the documented model, one of its published sizes, the printed faces and the fixing kit. Price is Quoted per project (FOB) and production time is confirmed in writing after design approval.
From the Survey to a Written Drawing
What comes back is a sheet, not a label. It names the documented model, one of its published sizes, the printed faces, any joining parts and the fixing kit by floor zone. These four habits keep that sheet useful for the next venue too.
Decide early whether the site is one unit or several
A single listed size keeps the drawing simple. A joined frontage uses the modular aluminium connectors named in the X, X6, XL-A and XL-B manuals and, on XL-A, wide or narrow connecting cloth. Both routes are documented; the decision is about the site, not about a size we can invent.
Give each floor its own fixing line
One 20x20 event tent layout can cross grass, a paved path and a hall threshold. The fixing kit is written per zone: guy ropes with ground stakes on soft ground, guy ropes with sand bags on hard surfaces, plus the model-specific weights where a manual names them. One generic line for the whole site is how the wrong kit ends up on the right day.
Keep the drawing with the artwork proof
The layout names the model, the size, the printed faces and the joining parts; the proof names every printed cut. A second venue usually changes the floor and sometimes the frontage, so archive both sheets together and re-issue only the lines that change.
Put the fixed date in the first message
The written quotation follows within 24-48 hours and manufacture is planned backwards from the event. If an organiser needs a drawn layout for approval, send that requirement with the survey so the same sheet can serve both the venue and the workshop.
Pricing & Minimum Order
The figure follows the drawing: the model and its listed size, the printed faces, any joining parts, the fixing kit for each floor and how many duplicate sets travel. One covered rectangle is a different job from a joined frontage with an extra compact bay, even before freight is counted.
| 項目 | 最小発注数量 | Terms |
|---|---|---|
| Single documented size with one approved printed set | 1 unit | Quoted per project (FOB) |
| Joined frontage with modular connectors and connecting cloth | 1 unit | Quoted per project (FOB) |
| Repeat layout for several venues on one approved artwork | Discussed against quantity | Quoted per project (FOB) |
| Extra compact bay, awnings, banners or walls | Named as separate lines | Quoted per project (FOB) |
| リードタイム | — | Confirmed in writing after design approval |
The written quotation follows within 24-48 hours and the figure is fixed only once the artwork sheet is approved. When a 20x20 trade show tent plot has to stand at a show with a contract date, put that date and the organiser's layout requirement in the first message so manufacture and freight are scheduled backwards from it. A drawing that arrives after venue approval is not a drawing you can use.
Three Sites, Three Layouts
Three deployments photographed where they were actually built: a park with both grass and a paved path, a paved forecourt with vehicles behind it, and an open grass field beside cars. Read them for the lines that belong on a survey: mixed ground, a joined frontage, and an edge set by vehicles rather than walls.
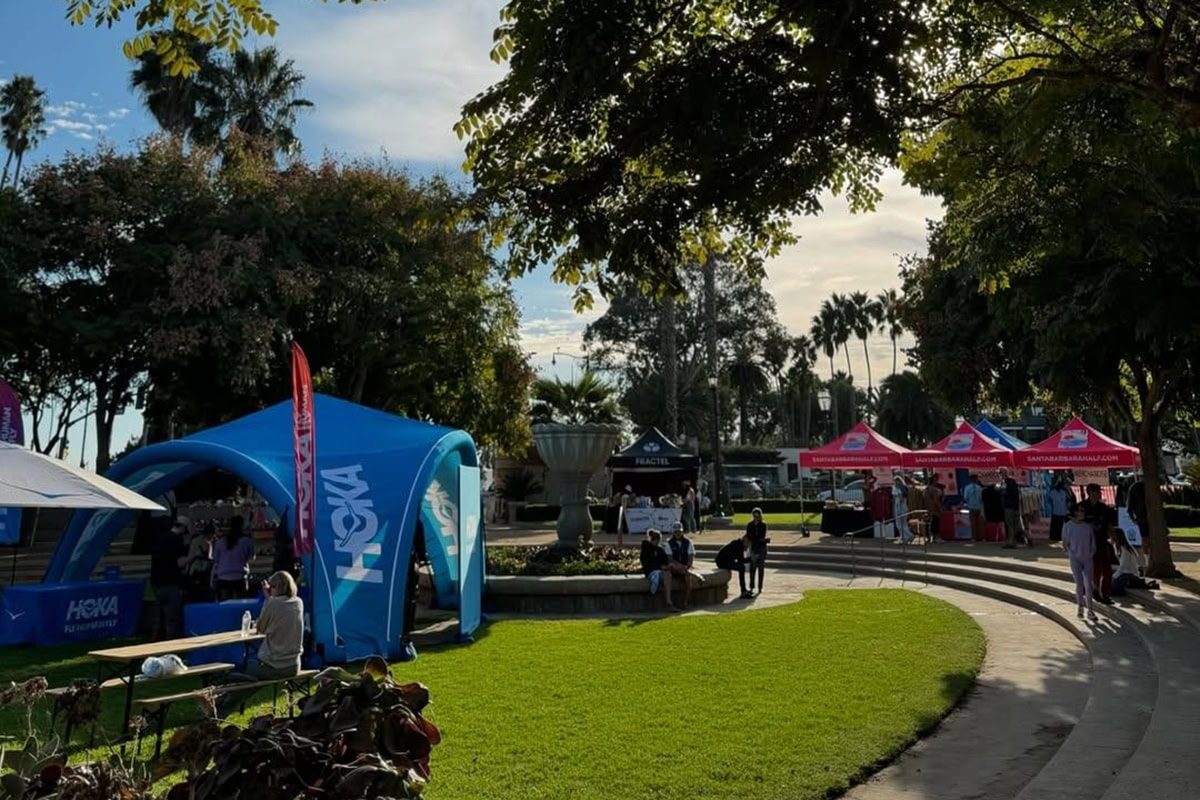
One Site, Two Surfaces, One Drawing
A blue unit on a lawn with a row of smaller canopies along a paved path. This is what a 400 sq ft plan looks like when the ground is not uniform: the soft area takes one fixing line, the path takes another, and the whole frontage still has to read as a single layout. Measure both surfaces before choosing the covered rectangle.
- Mixed ground
- One frontage
- Two fixing lines

Two Units Make One Wide Frontage
Two printed units set together with vehicles behind them. A joined arrangement is a legitimate way to cover a large 20x20 booth footprint: the modular connectors named in the X, X6, XL-A and XL-B manuals belong on the same drawing as the structures. The access route behind the stand is part of the survey too.
- Joined frontage
- Paved forecourt
- Access behind
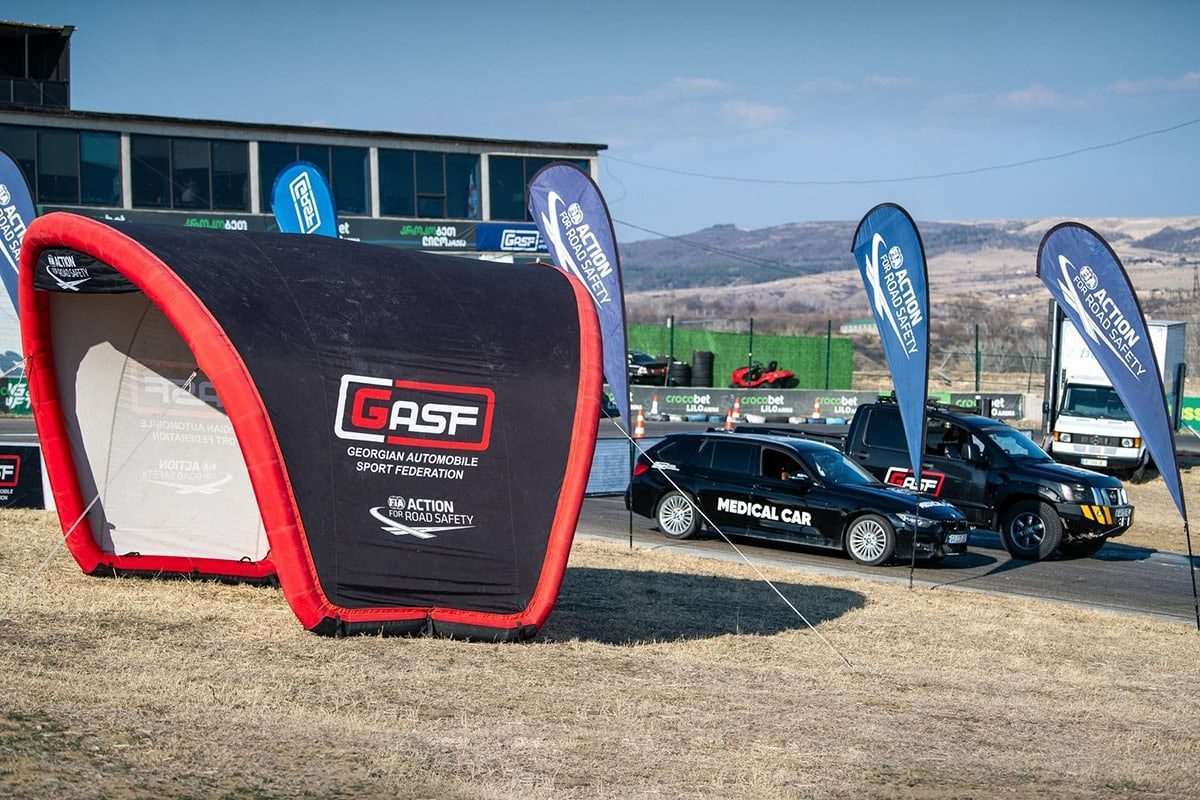
Open Ground Still Has an Edge
A fully printed unit on a dry grass field with cars alongside. With no walls to measure against, the usable rectangle is set by the vehicle route, the queue and the sightline instead. Soft ground allows the documented guy ropes with ground stakes, but the drawing still needs an edge before a size is chosen.
- Open grass
- Stake fixing
- Vehicle edge
よくある質問(FAQ)
Large Sites in Use
Three sites, three constraints: a queue on paving, a colonnade setting the headroom, and trees above a lawn. Each one is a line that belongs on the site survey before any size is discussed.
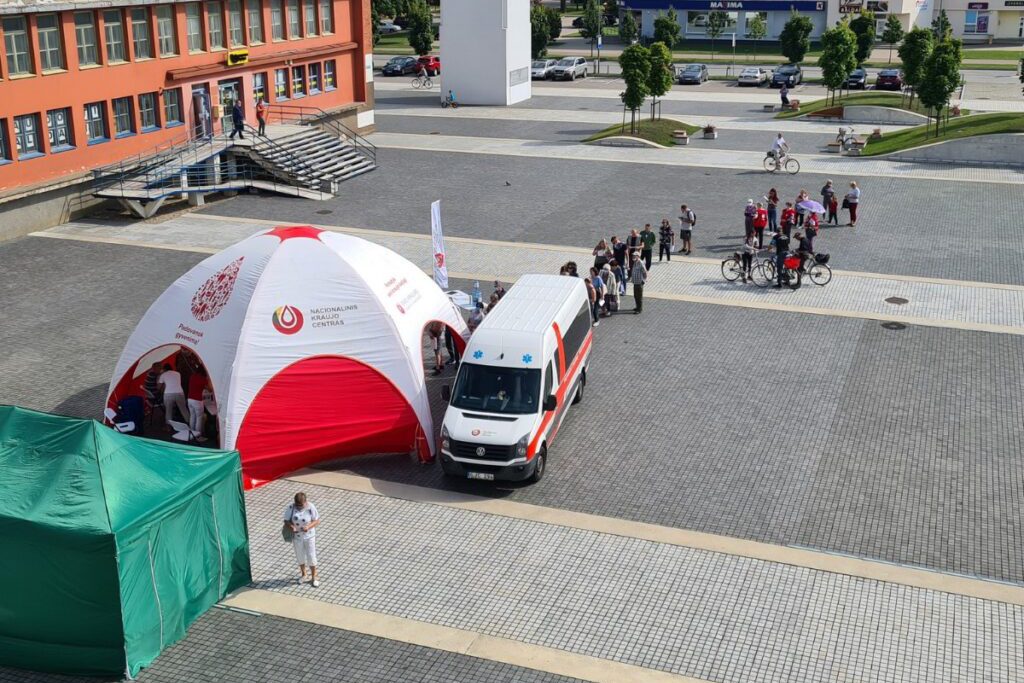
A Queue Is Part of the Footprint
A single unit on paving with a queue forming alongside it. The queue, the vehicle beside it and the hard edge of the square all take space from the nominal plot. On a surface like this the weighted fixing method is written into the layout from the first drawing.
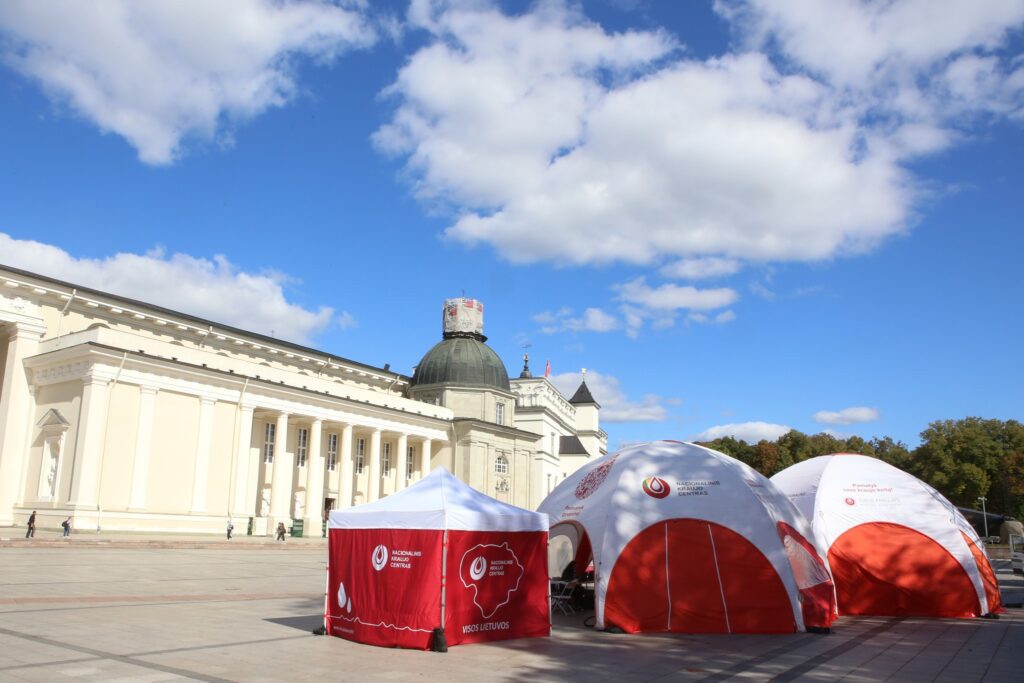
Several Bays, One Shared Frontage
Three bays aligned on one front edge in front of a colonnaded building. This is the joined answer to a large site: documented units, documented joining parts and one artwork sheet. The colonnade also sets the headroom and the setback, which is why the survey comes first.
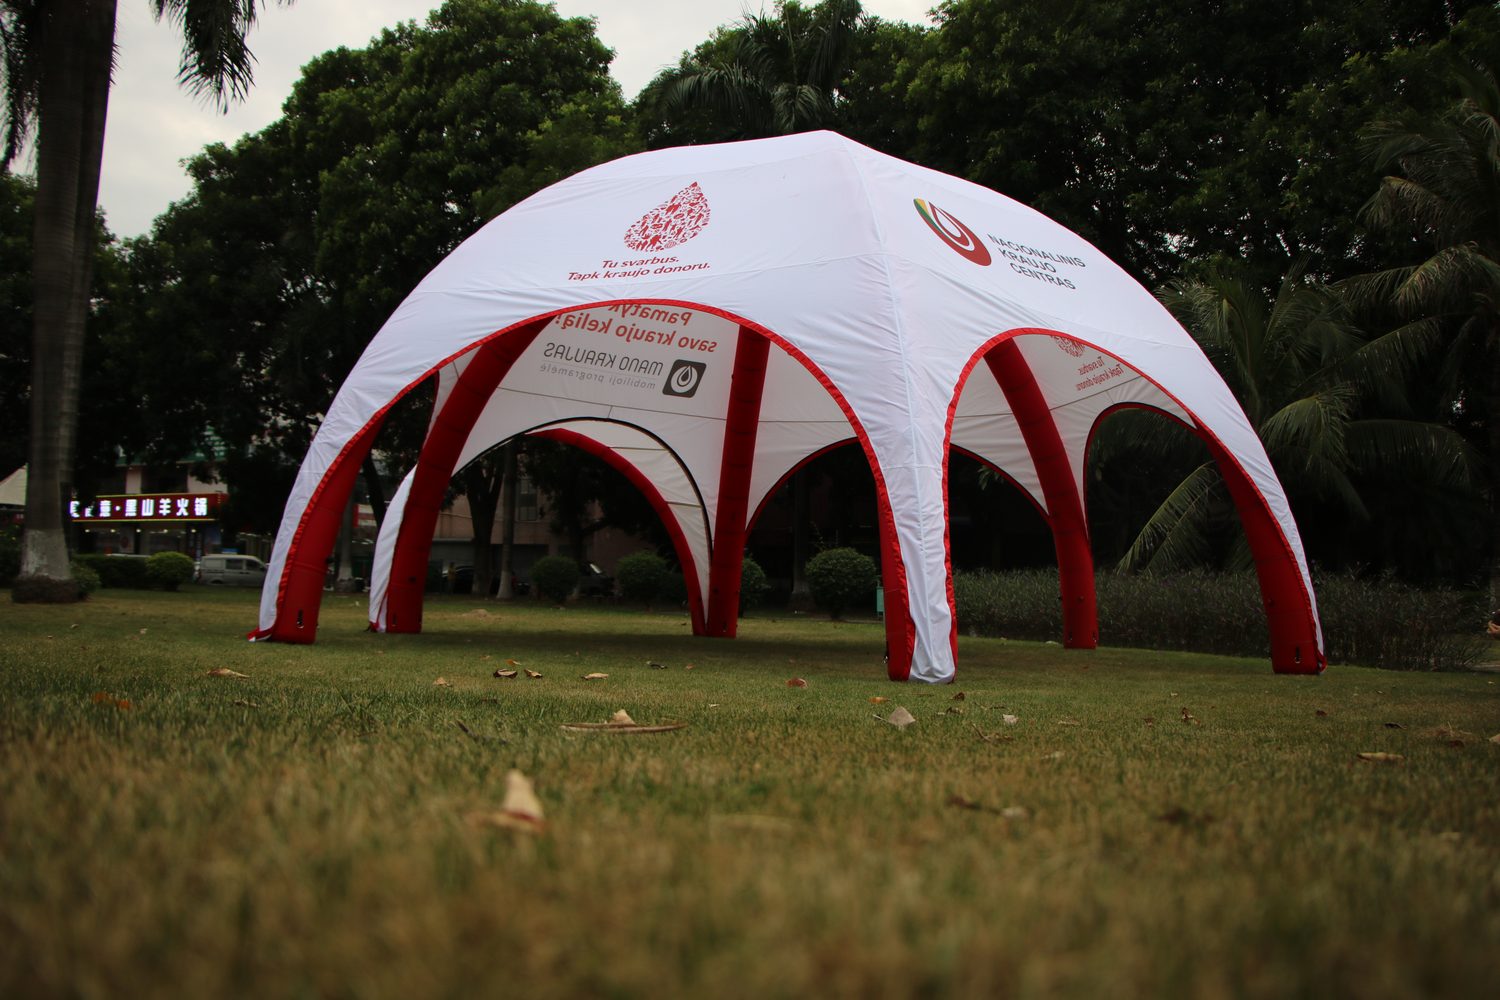
Soft Ground, Trees Overhead
A stand on mown grass with trees behind it. Here the documented guy ropes with ground stakes apply, but the trees set the lowest headroom. A 20x20 tent layout records both lines: what holds the structure down and what limits how tall the frontage can be.


